Garlic Parmesan Cheeseburger Bombs with Garlic Butter
Garlic Parmesan Cheeseburger Bombs wrap seasoned ground beef and melted cheddar inside warm biscuit dough, then finish the bundles with garlic butter, Parmesan, and fresh parsley. The combination turns familiar cheeseburger flavors into a compact baked dish that works for snacking, sharing, or a casual meal.
Why Garlic Parmesan Cheeseburger Bombs Work
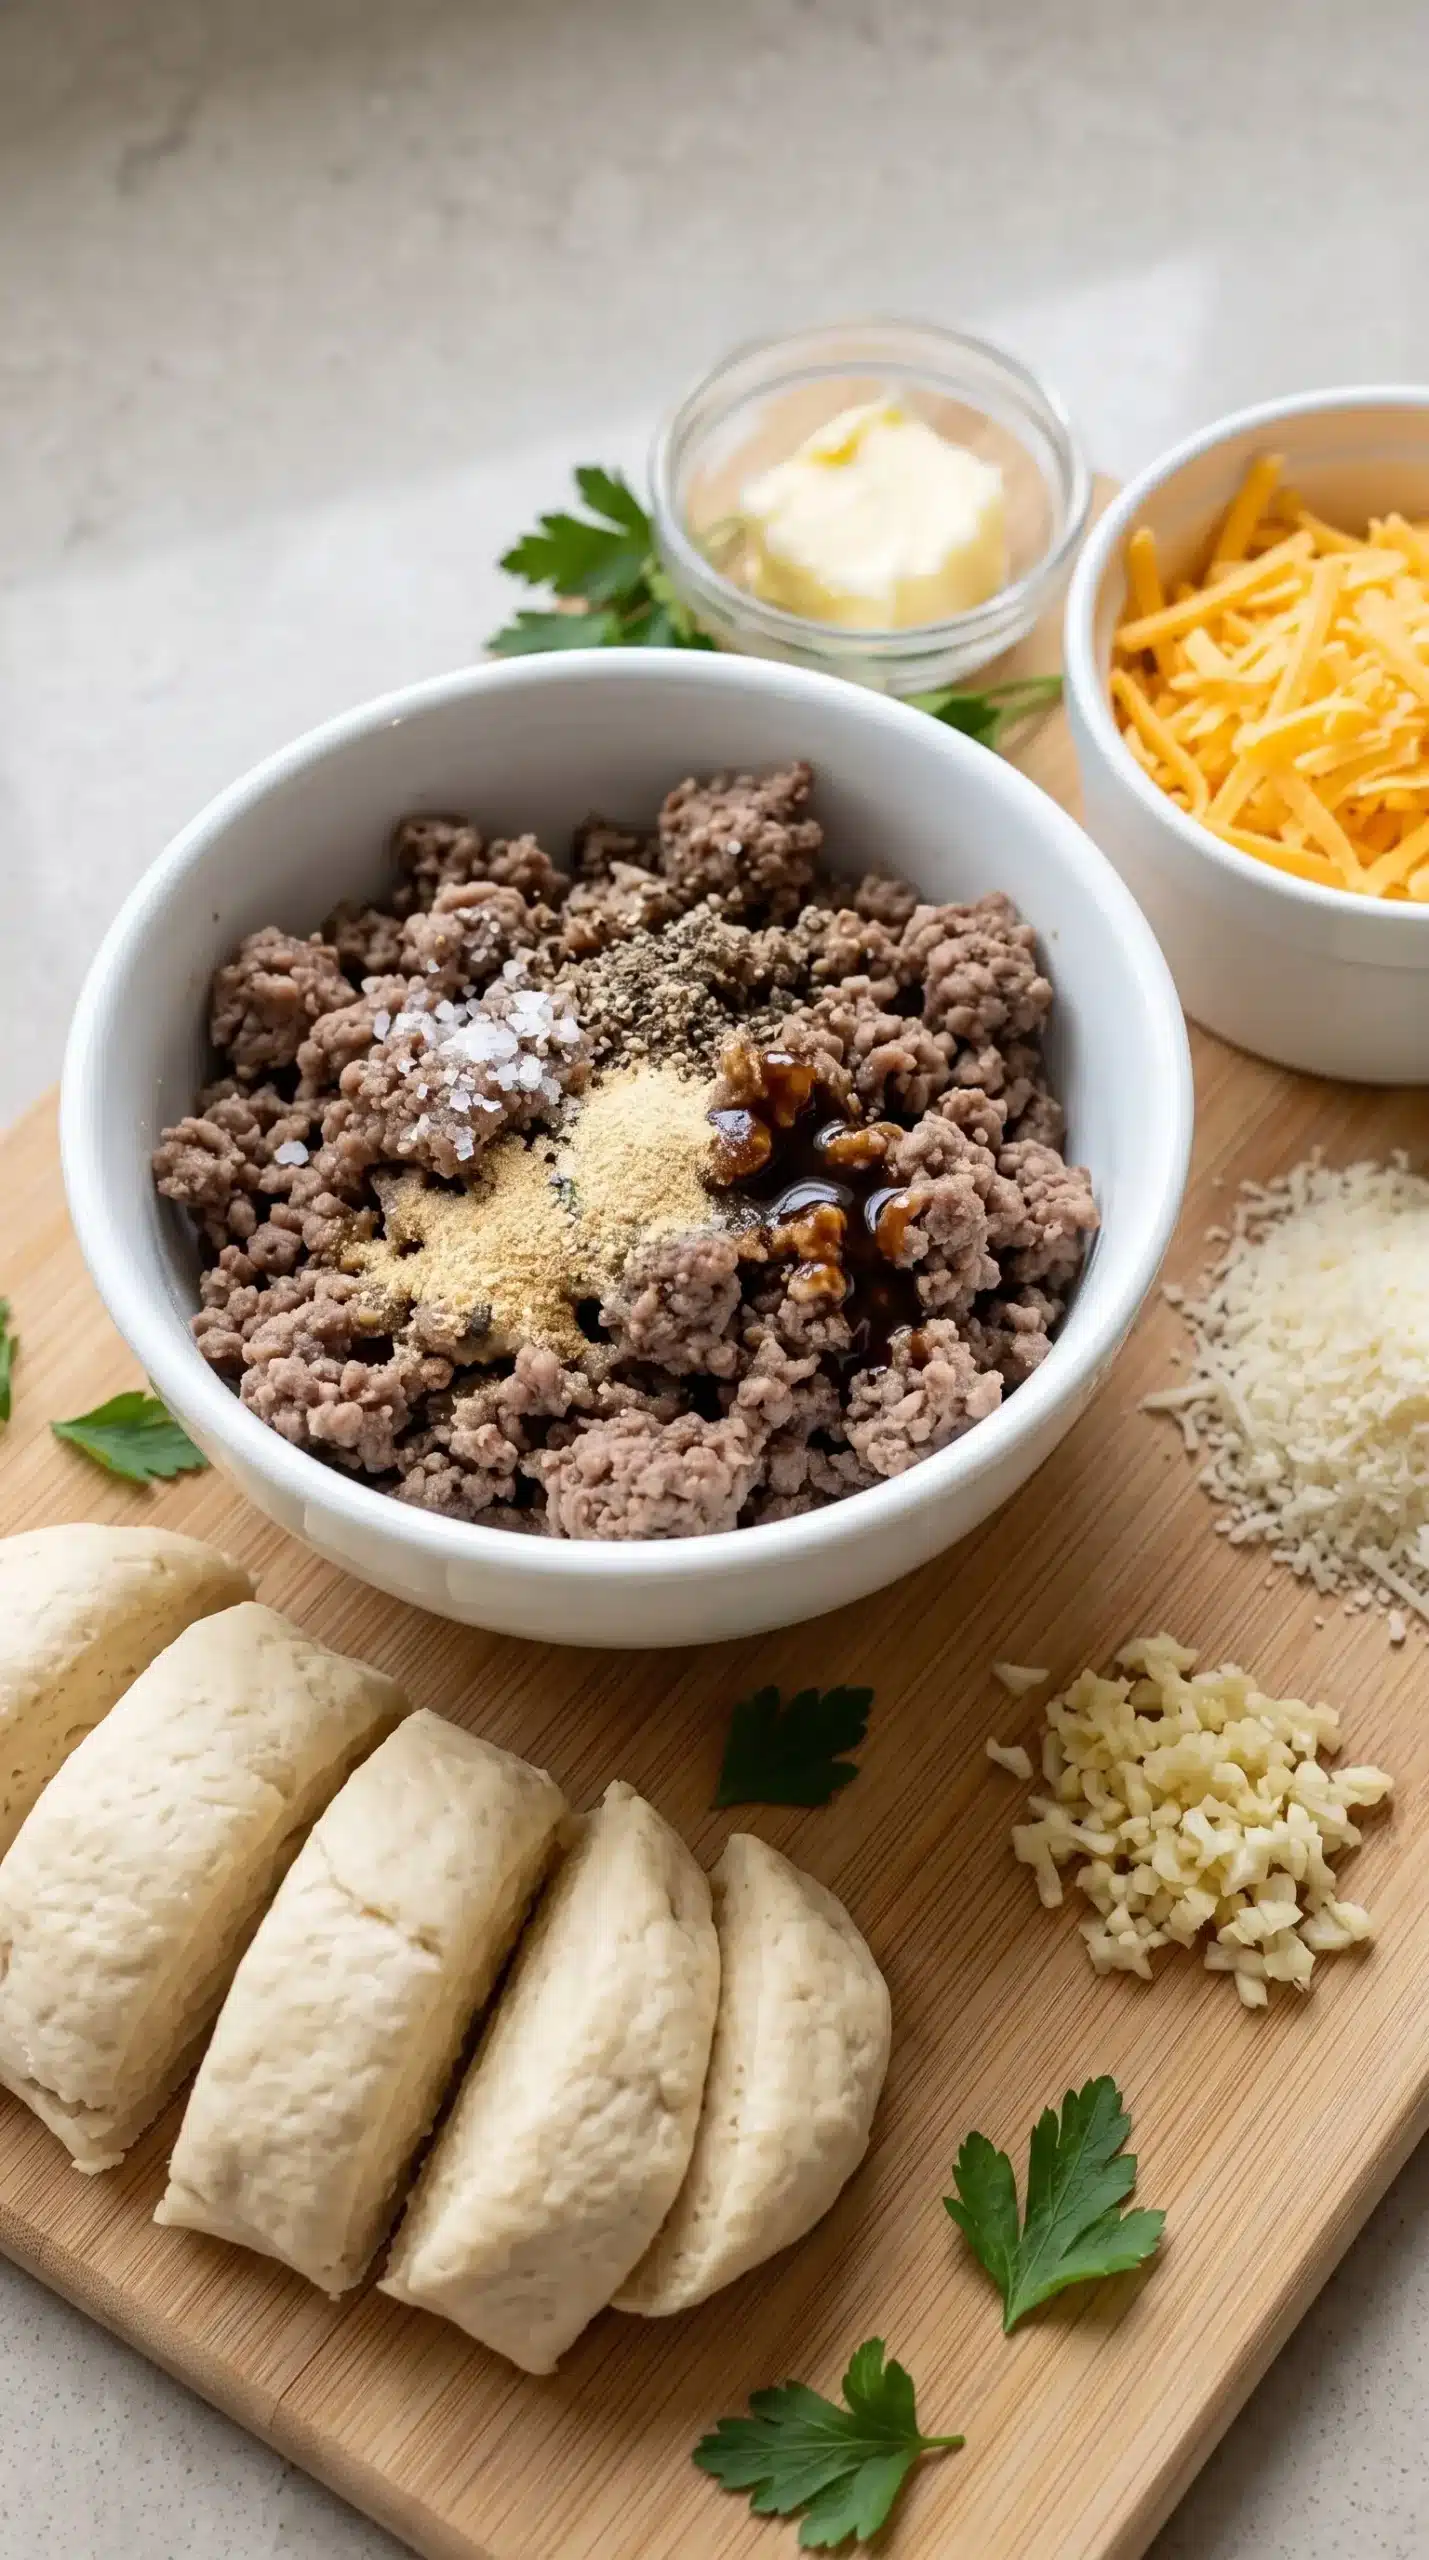
The filling has a straightforward savory foundation: ground beef is seasoned with salt, black pepper, garlic powder, onion powder, and Worcestershire sauce before cheddar is folded through the cooked meat. That combination gives the center a distinctly cheeseburger-style flavor without requiring a long ingredient list.
Biscuit dough creates the outer layer and also makes the filling easy to portion into individual bundles. Rolling the dough thinner gives enough room to enclose the beef and cheese while keeping the finished bombs compact.
Garlic butter changes the character of the baked dough, while Parmesan supplies a salty, savory finish on top. Fresh parsley adds a simple final garnish, giving the golden bundles a fresh-looking contrast when they reach the table.
Cheddar Beef Filling Sets the Flavor Base
Ground beef should be fully cooked and broken apart in the skillet before the seasonings and Worcestershire sauce go in. Draining excess fat at that point keeps unnecessary liquid and grease from becoming part of the filling.
Cheddar is stirred into the seasoned beef while it is still warm, allowing the cheese to melt and bind with the meat. A cohesive filling is easier to portion into the biscuit dough than loose meat and shredded cheese handled separately.
Lean ground beef can be used when reducing excess fat is a priority. Other cheeses can also change the character of the center; mozzarella or pepper jack are suitable alternatives when a different cheese profile is wanted.
For a casual beef-and-cheese meal served without biscuit dough, ground beef Philly cheesesteaks keep the focus on seasoned ground beef and melted cheese, while these bombs enclose those flavors in individual portions.
- Season the beef: Salt, pepper, garlic powder, onion powder, and Worcestershire sauce provide the specified savory seasoning.
- Melt the cheese: Stir cheddar into the cooked beef until the mixture is melted and well combined.
- Keep portions manageable: Use about 2 tablespoons of filling per biscuit so the dough can close around it securely.
Garlic Butter and Parmesan Create the Signature Finish
Melted butter and finely minced garlic are combined before brushing the mixture over the assembled dough. Brushing the tops gives the garlic flavor a direct place on the biscuit exterior instead of concentrating all of the seasoning inside the beef.
Grated Parmesan goes over the garlic-butter coating before baking. Keeping the cheese on the outside gives the baked surface a distinctly Parmesan-forward finish that complements the cheddar in the center.
Fresh parsley belongs at the end, after the bombs come out of the oven. Its role is primarily as a garnish, adding color to the finished golden surface without changing the core filling.
Rolling the Biscuit Dough for a Secure Seal
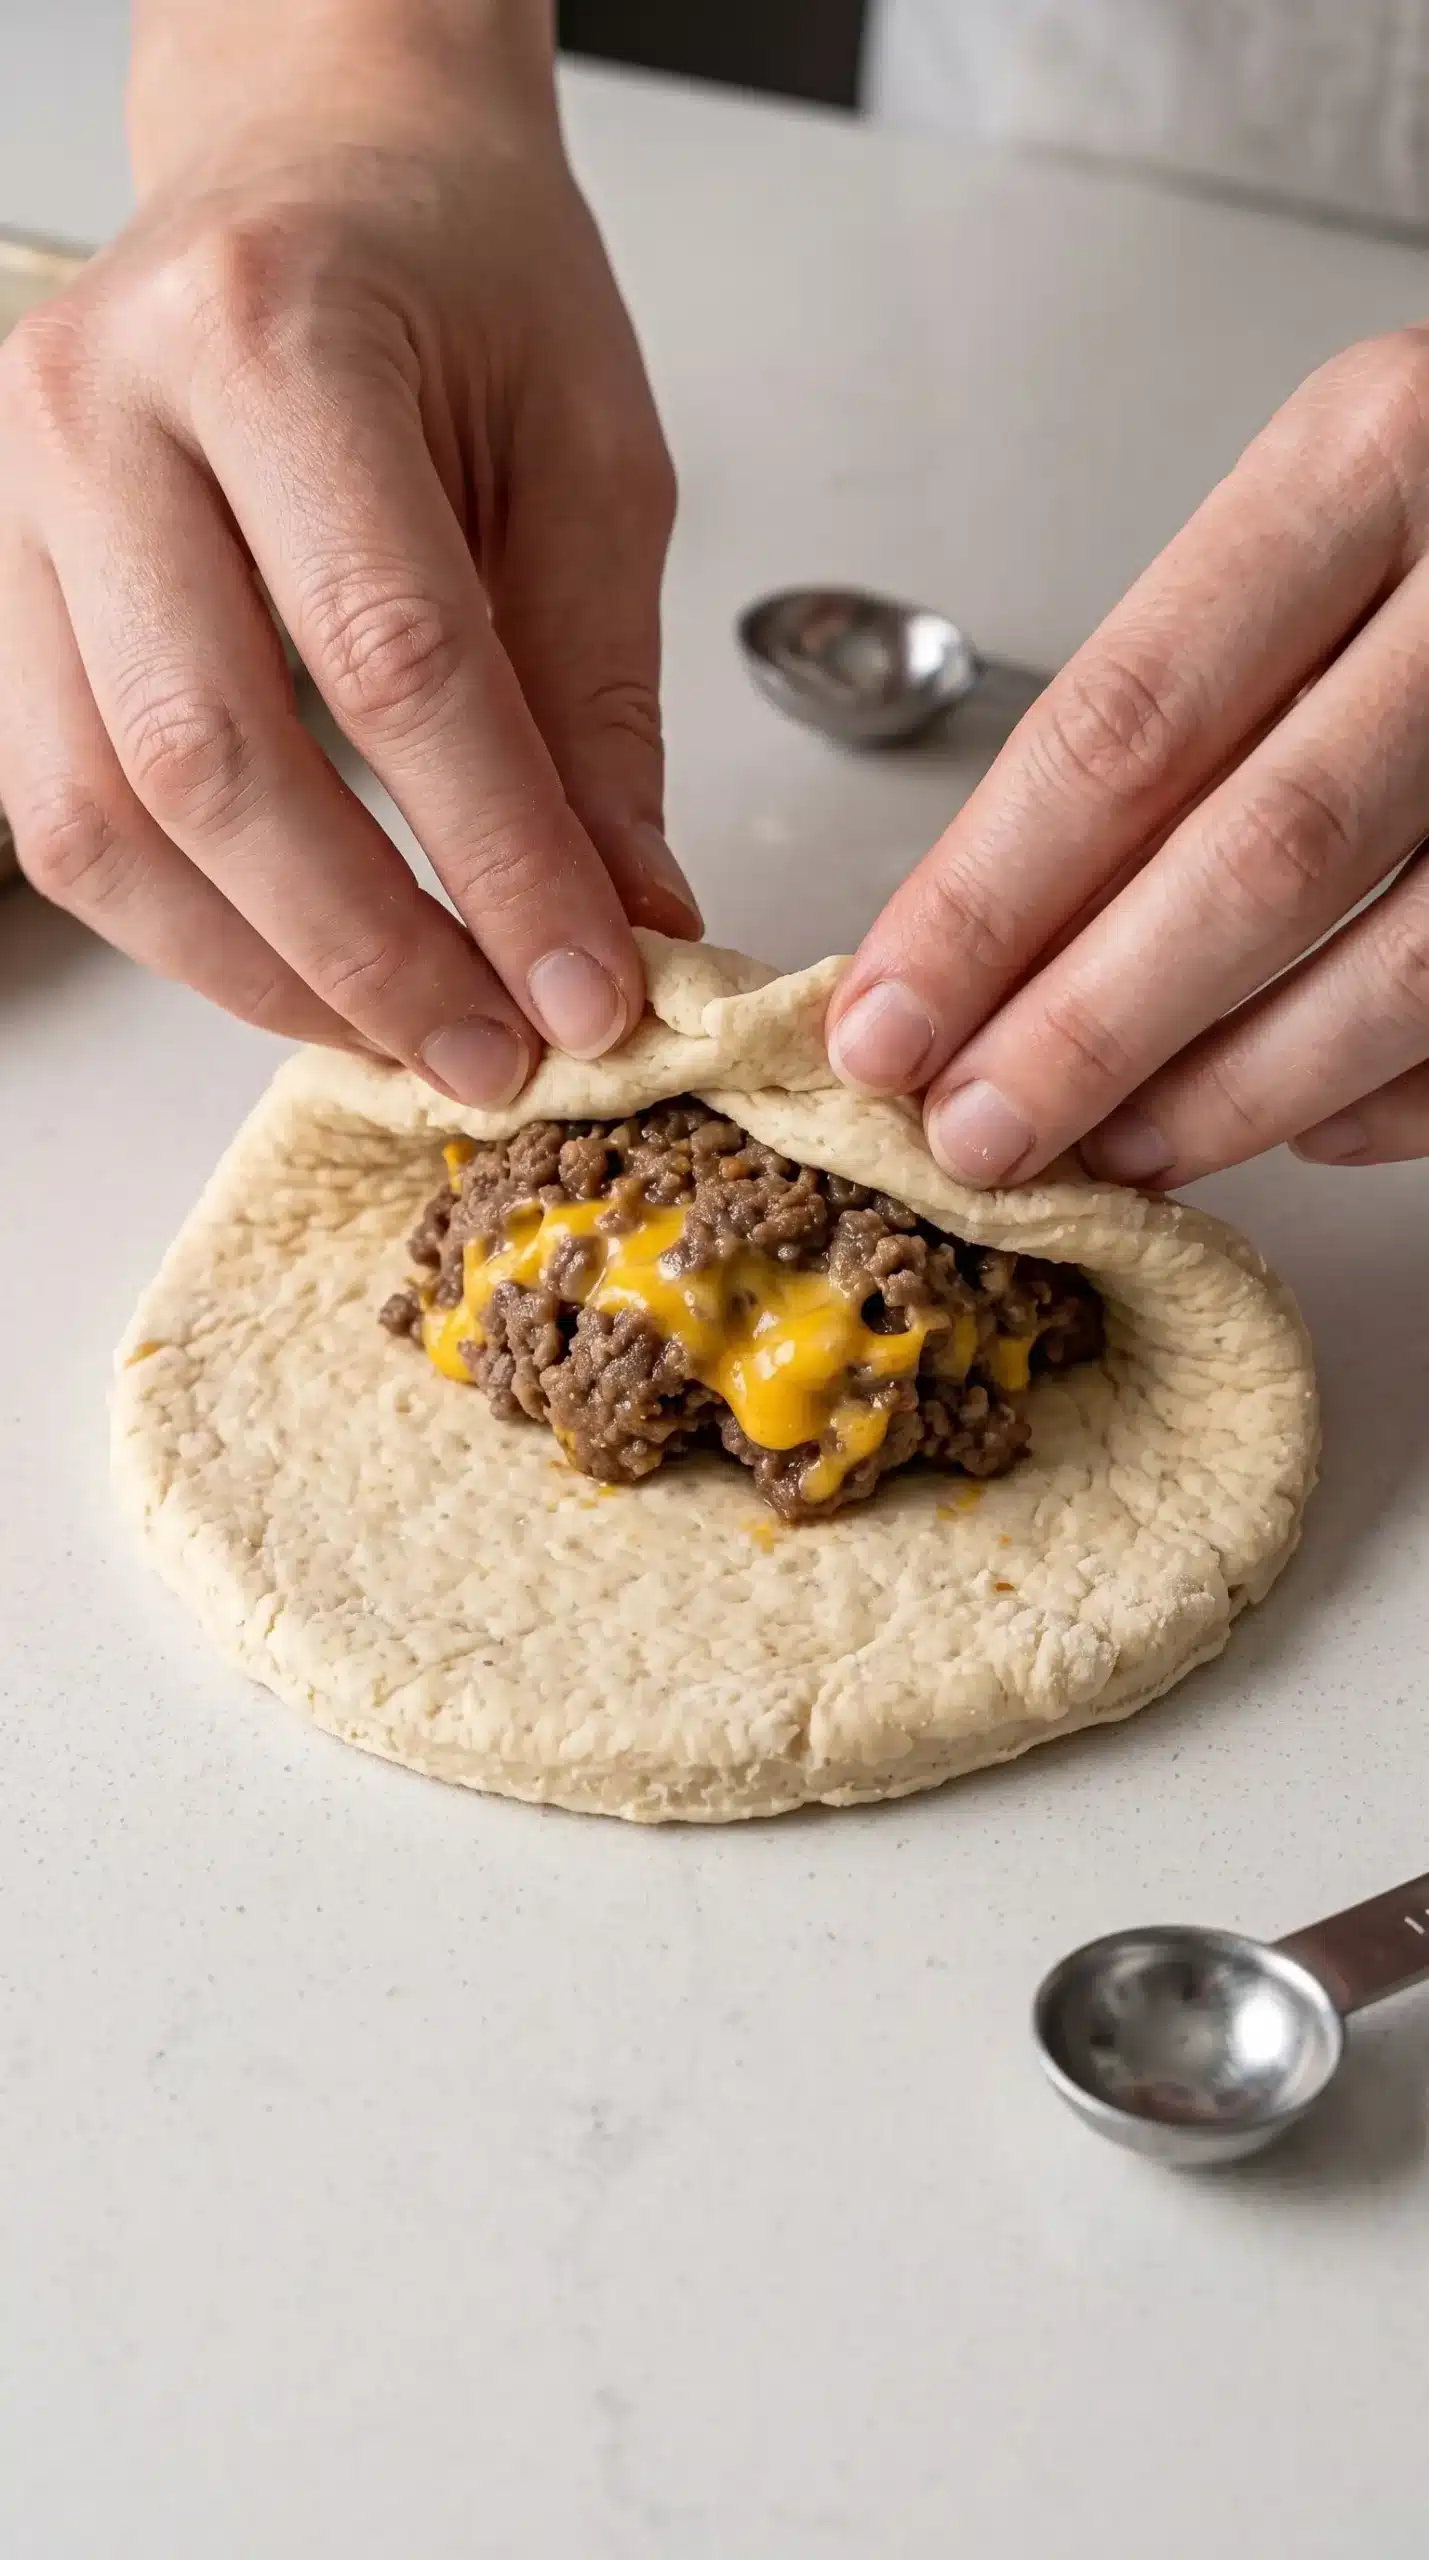
Each refrigerated biscuit should be rolled to approximately 1/4 inch thick before filling. The dough needs enough surface area to fold around the beef mixture without making the center difficult to close.
Place the filling in the middle and bring the edges around it carefully. Pinching the dough closed creates the seal that keeps the cheesy beef center enclosed as the bombs bake.
Seam-Side Down Placement Helps Hold the Filling
Once each bundle has been sealed, place it seam-side down on a parchment-lined baking sheet. This positioning keeps the joined edges against the baking sheet and leaves the smoother side available for the garlic-butter and Parmesan topping.
Oven Cues Matter More Than Color Alone
The oven should be preheated to 375°F (190°C) before the assembled cheeseburger bombs go in. A properly heated oven provides the environment specified for the biscuit dough to bake while the filled bundles cook through.
The stated baking window is 12 to 15 minutes, but the useful visual cue is a golden-brown exterior with the dough cooked through. Checking the appearance toward the end of that window helps prevent pulling the bombs out while the biscuit dough is still underbaked.
After baking, fresh parsley can be scattered over the tops before serving. The combination of browned biscuit dough, melted cheese, garlic butter, Parmesan, and parsley gives the finished surface several distinct textures and flavors.
| Stage | What to look for | What it tells you |
|---|---|---|
| Before baking | Edges are firmly pinched together | The filling is enclosed before the dough goes into the oven |
| During baking | Exterior becomes golden brown | The biscuit dough is progressing toward a cooked-through finish |
| At the end | Dough is golden and cooked through | The bombs are ready for parsley and serving |
Common Garlic Parmesan Cheeseburger Bomb Mistakes to Avoid
A loose seal is one of the clearest problems to prevent. If the dough is not pinched together firmly, the filling can escape as the bundles bake. Take a moment to check the joined edges before placing each piece seam-side down.
Overfilling can make that seal harder to achieve. The supplied method calls for about 2 tablespoons of the cheesy beef mixture in each biscuit, giving a practical portion to work with while leaving dough available around the filling.
Excess fat is another avoidable issue because the cooked beef is specifically drained before seasoning and adding cheddar. Skipping that step can leave the filling heavier and make the enclosed dough more difficult to handle.
Underbaking changes the texture of the outer layer. The bombs should stay in the oven until the exterior is golden brown and the biscuit dough is cooked through, using the 12-to-15-minute window as the stated guide.
Warm Serving Ideas for Cheeseburger Bombs
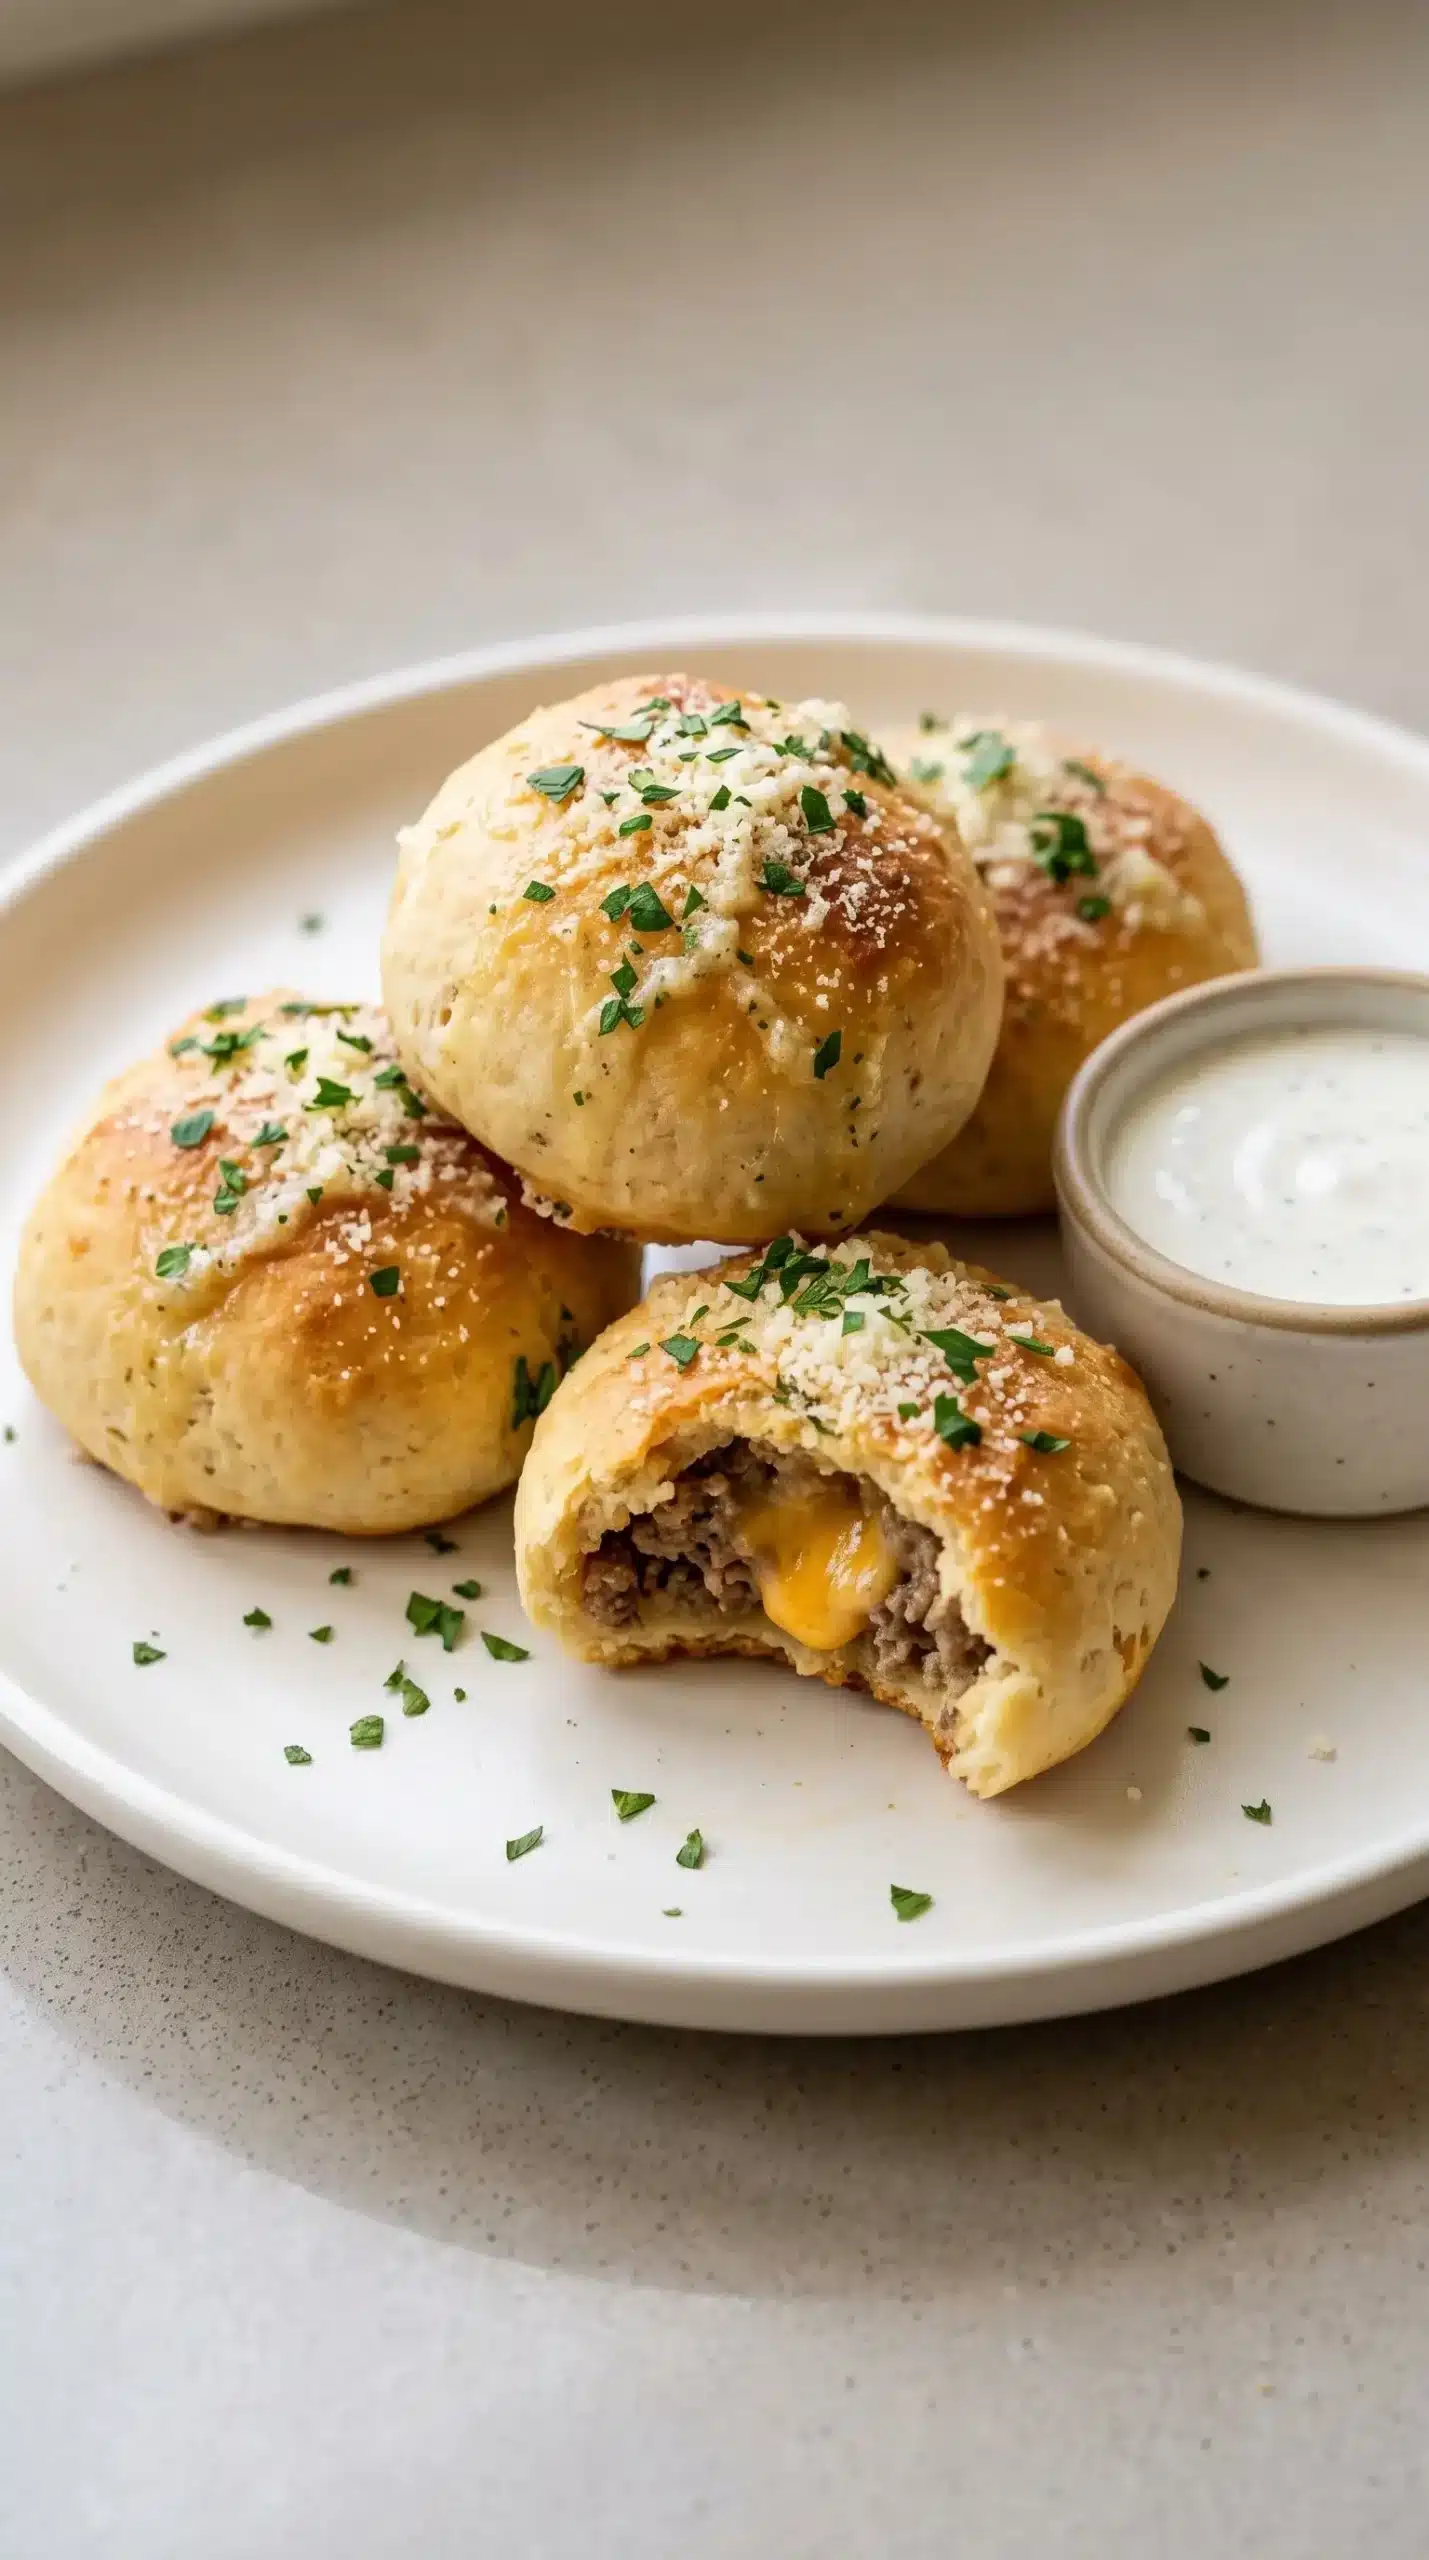
Cheeseburger bombs are best served warm and fresh from the oven, when the biscuit exterior and melted cheese filling are at their intended serving state. Ranch or ketchup can be offered alongside them as dipping sauces.
| Serving setting | Role for the bombs | Simple accompaniment |
|---|---|---|
| Snack | Individual savory bite | Ranch or ketchup for dipping |
| Appetizer | Shareable baked bundles | Ranch or ketchup on the side |
| Main dish | Hearty casual meal | A dipping sauce such as ranch or ketchup |
Three-Day Refrigerated Storage Keeps Leftovers Useful
Allow leftover bombs to cool to room temperature before storing them. An airtight container keeps them contained in the refrigerator for up to 3 days.
For reheating, place the refrigerated bombs in a 350°F (175°C) oven for about 10 minutes, or until warm. The oven method brings the stored bundles back to serving temperature without changing the storage procedure.
Simple Variations for the Cheeseburger Bomb Filling
Ground turkey or chicken can replace the beef when a different meat is preferred. The same biscuit-and-cheese concept can therefore be adapted without changing the basic shape of the dish.
A vegetarian approach uses sautéed mushrooms, spinach, and cheese as the filling. The combination provides an alternative center while retaining the enclosed biscuit format.
Cheese is another straightforward point of variation. Mozzarella or pepper jack can replace cheddar, while chopped onions or bell peppers can be added to the beef mixture for additional vegetables.
Make-Ahead Assembly Fits a Casual Gathering
Assembled bombs can be prepared ahead and stored in the refrigerator before baking. Keeping them unbaked until serving makes it possible to complete the oven stage closer to mealtime.
When ready to serve, bake the prepared bundles fresh according to the recipe’s oven directions. This approach is especially useful for a casual get-together or game-day spread where warm food is more appealing at serving time.
Protein Comes from Beef and Cheese
Ground beef and cheese make these bombs a source of protein, while fresh parsley contributes some vitamins. The original nutrition information describes each serving as containing about 20 grams of protein.
The Best Texture Comes from a Tight Seal and Proper Bake
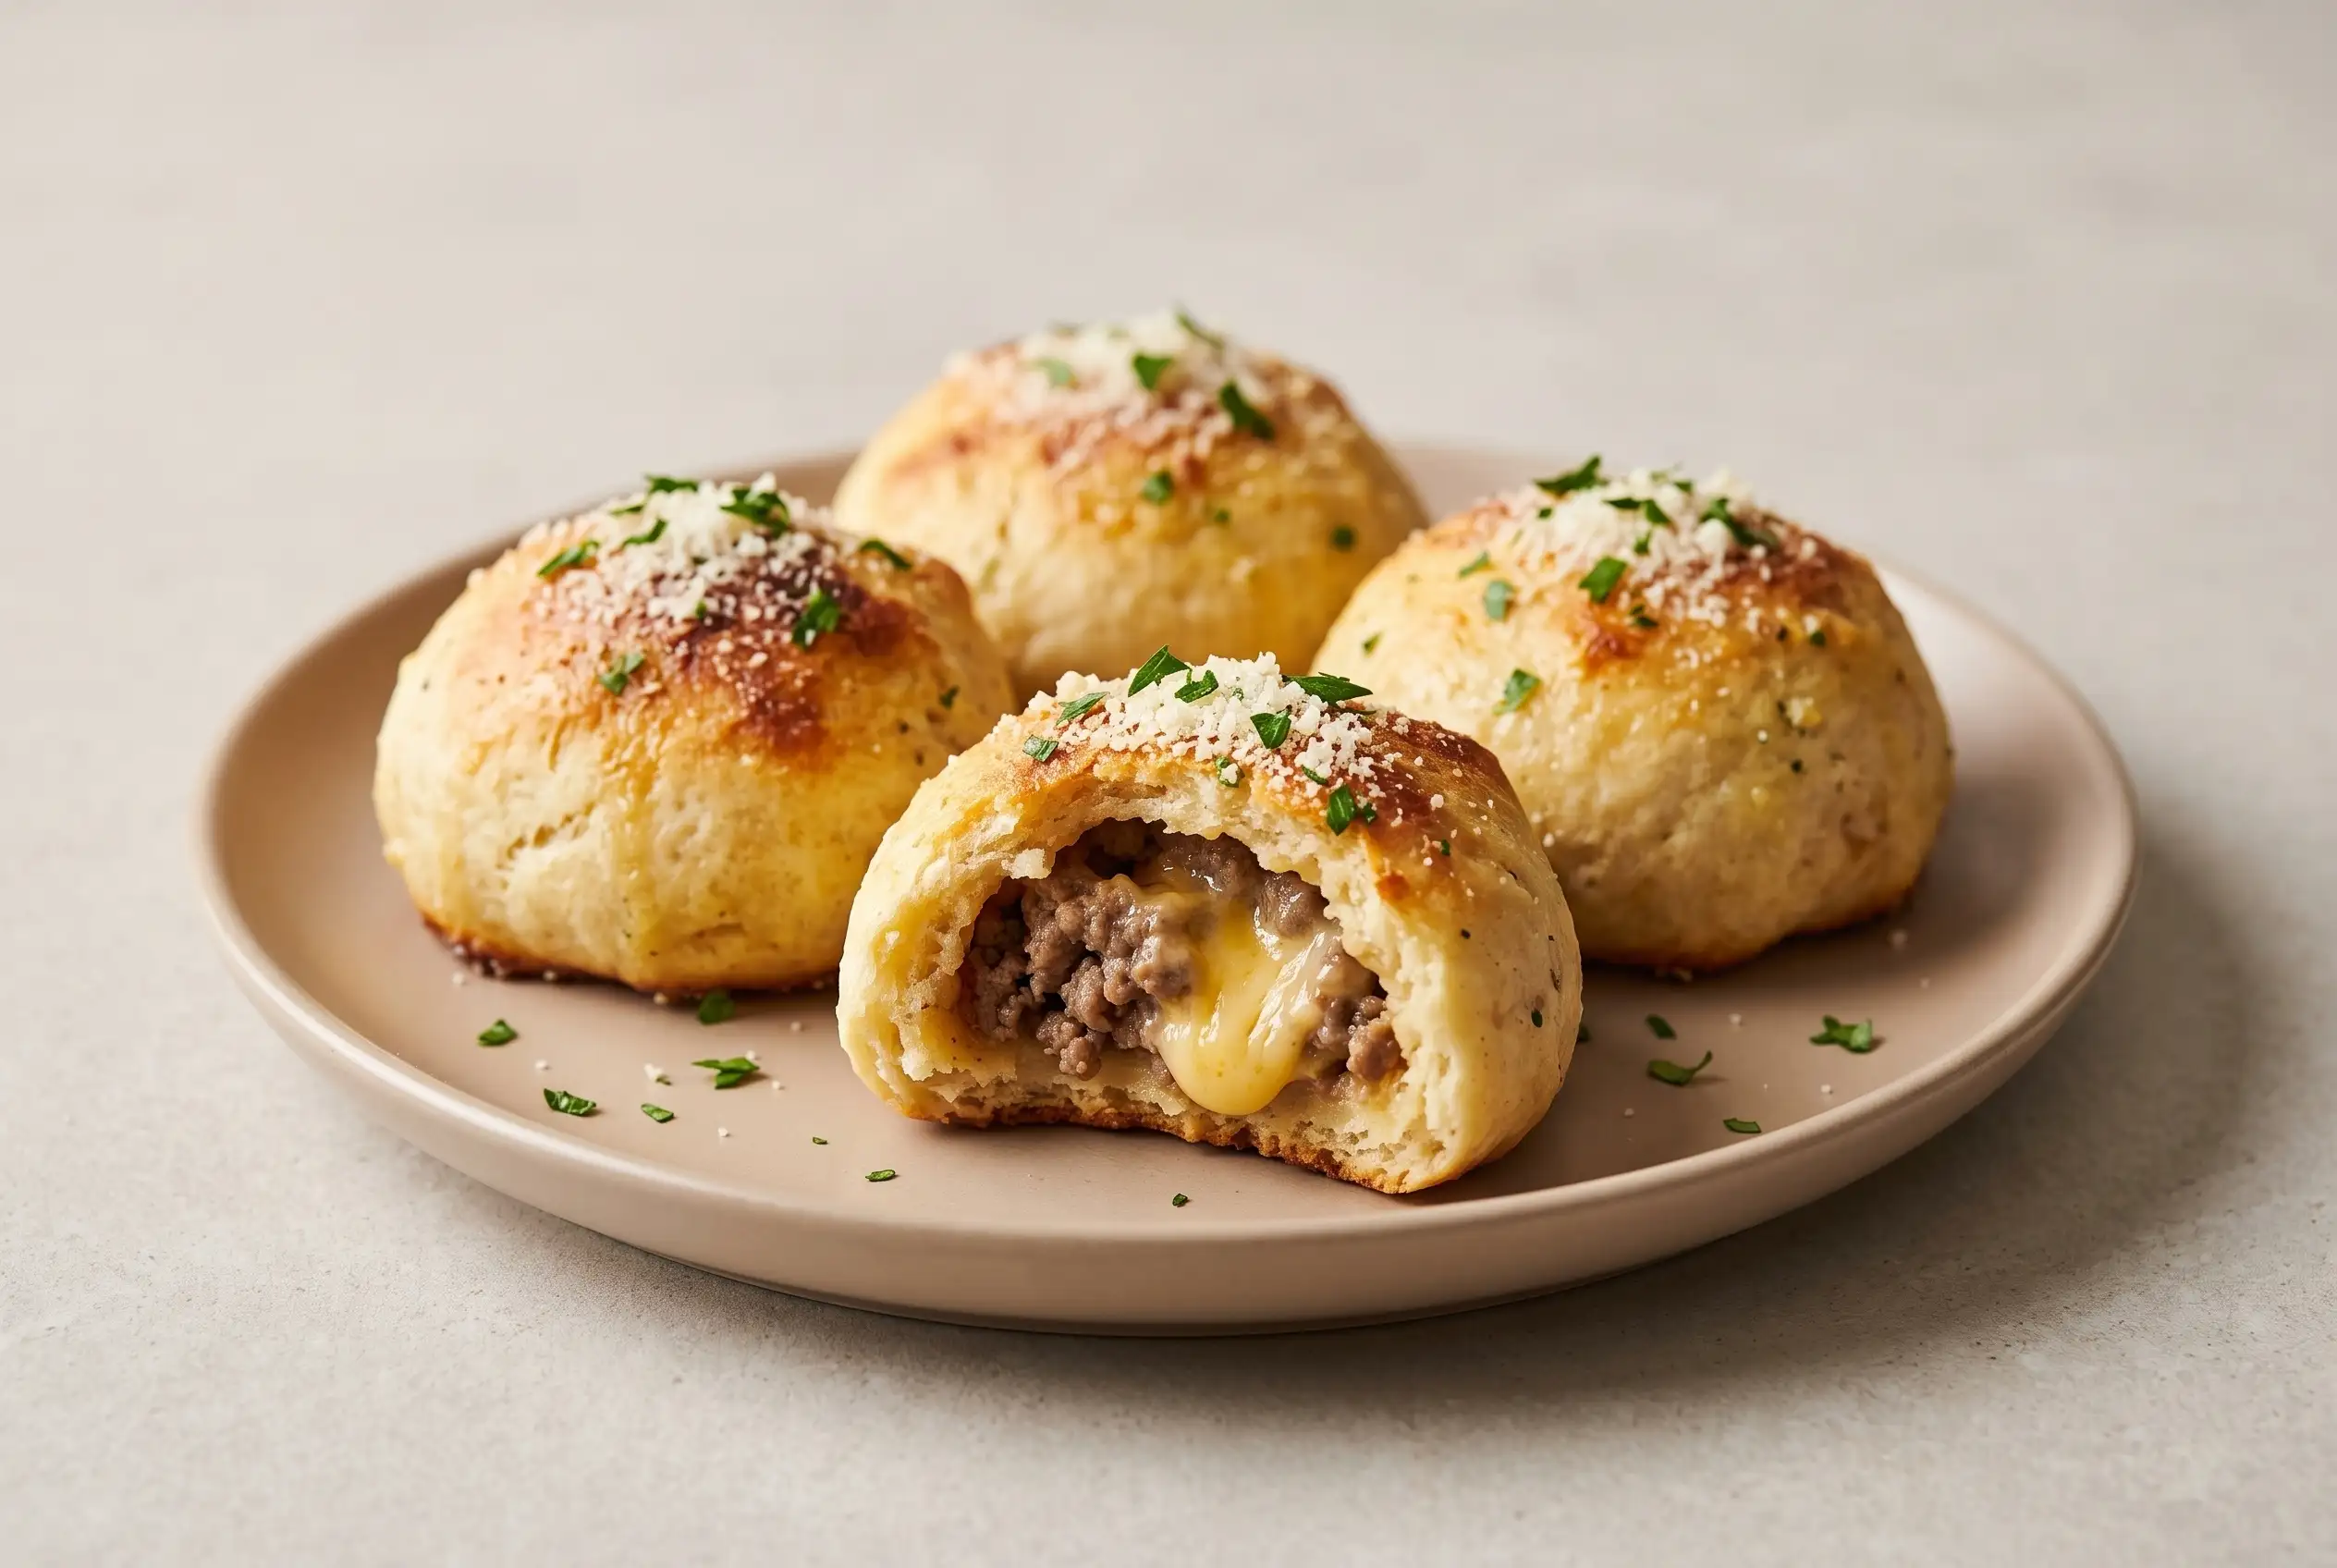
A firmly sealed biscuit keeps the seasoned beef and melted cheddar where they belong, while the garlic butter and Parmesan stay concentrated on the exterior. Those two areas the enclosed filling and the topped dough work together to create the intended contrast in every bite.
A Securely Sealed Cheeseburger Bomb Gives the Best Result
Golden biscuit dough, a cohesive cheesy beef filling, and a well-sealed edge are the most important visual and practical cues to keep in mind. Once those pieces are handled carefully, the garlic butter, Parmesan, and parsley can provide the finishing character without complicated preparation.
The finished garlic parmesan cheeseburger bombs are at their best when served warm, with the filling enclosed securely and the biscuit exterior fully cooked. That combination keeps the dish easy to portion, easy to share, and suited to both casual meals and gatherings.
Cheeseburger Bomb Questions About Sealing, Storage, and Baking
Can frozen biscuits be used instead of refrigerated biscuit dough?
Frozen biscuits can be used if they are thawed before rolling. Once thawed, they need to be rolled to approximately 1/4 inch thick so they can be filled and sealed around the cheesy beef mixture.
How can the cheeseburger bombs be made spicier?
Chili powder or diced jalapeños can be added to the beef mixture for more heat. Add either to the seasoned filling before enclosing it in the biscuit dough.
Can the assembled bombs be refrigerated before baking?
Yes. The assembled bundles can be stored in the refrigerator and baked fresh when you are ready to serve them, making advance preparation possible for a casual gathering.
What should be done if the biscuit seal starts to open?
Check the edges before baking and pinch them together firmly wherever the dough has separated. Keeping the filling centered and using about 2 tablespoons per biscuit also leaves enough dough around the filling to create the seal.
How long can baked cheeseburger bombs stay refrigerated?
After cooling to room temperature, leftovers can be placed in an airtight container and refrigerated for up to 3 days. Reheat them in a 350°F (175°C) oven for about 10 minutes, or until warm.
Garlic Parmesan Cheeseburger Bombs with Garlic Butter
Ingredients
Method
- Preheat the oven to 375°F / 190°C and line a baking sheet with parchment paper.
- Cook the ground beef in a skillet over medium heat, breaking it into small pieces as it browns. Drain any excess fat.
- Add the salt, black pepper, garlic powder, onion powder, and Worcestershire sauce to the cooked beef. Stir in the cheddar cheese and continue mixing until the cheese has melted and the filling is well combined.
- Flatten each biscuit to about 1/4 inch thick. Put about 2 tablespoons of the beef and cheese mixture in the center of each biscuit.
- Bring the dough up around the filling and firmly pinch the edges closed to form a ball. Arrange the filled biscuits seam-side down on the prepared baking sheet.
- Stir the melted butter and minced garlic together, then brush the mixture over each cheeseburger bomb.
- Distribute the grated Parmesan evenly over the garlic-butter-coated dough.
- Bake at 375°F / 190°C for 12-15 minutes, until the biscuit dough is golden brown and the filling is cooked through.
- Finish the baked cheeseburger bombs with the chopped fresh parsley before serving.