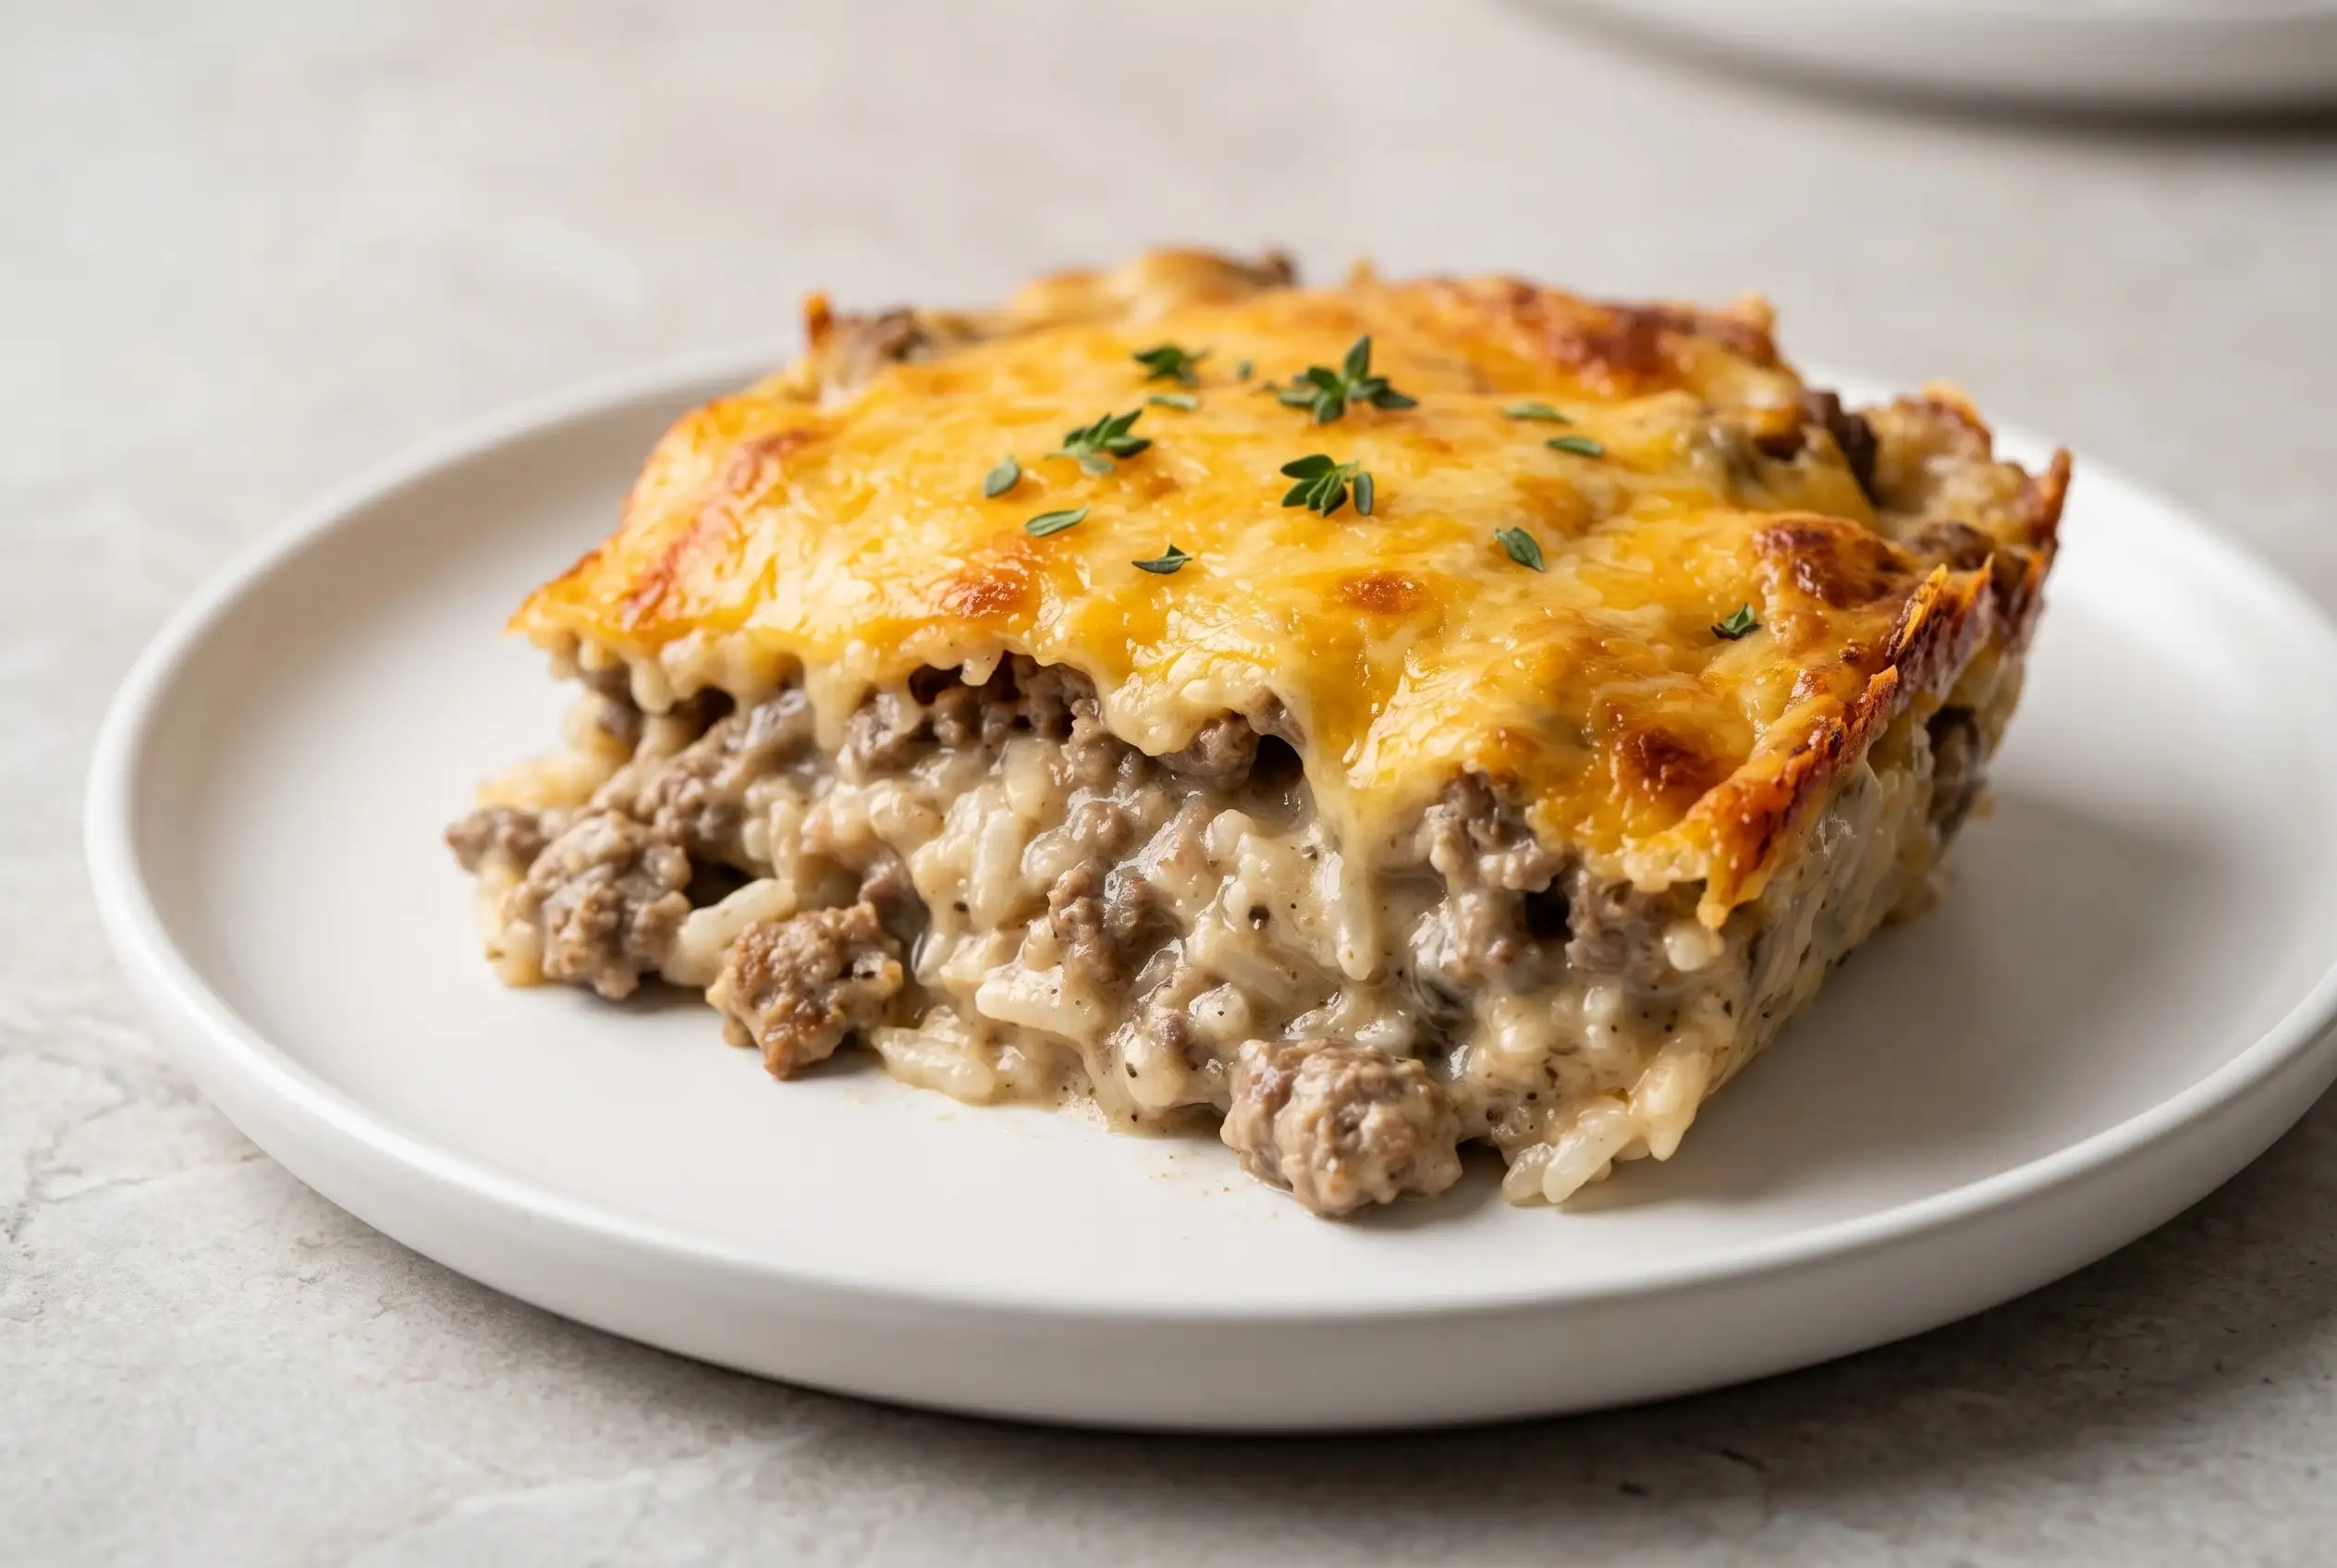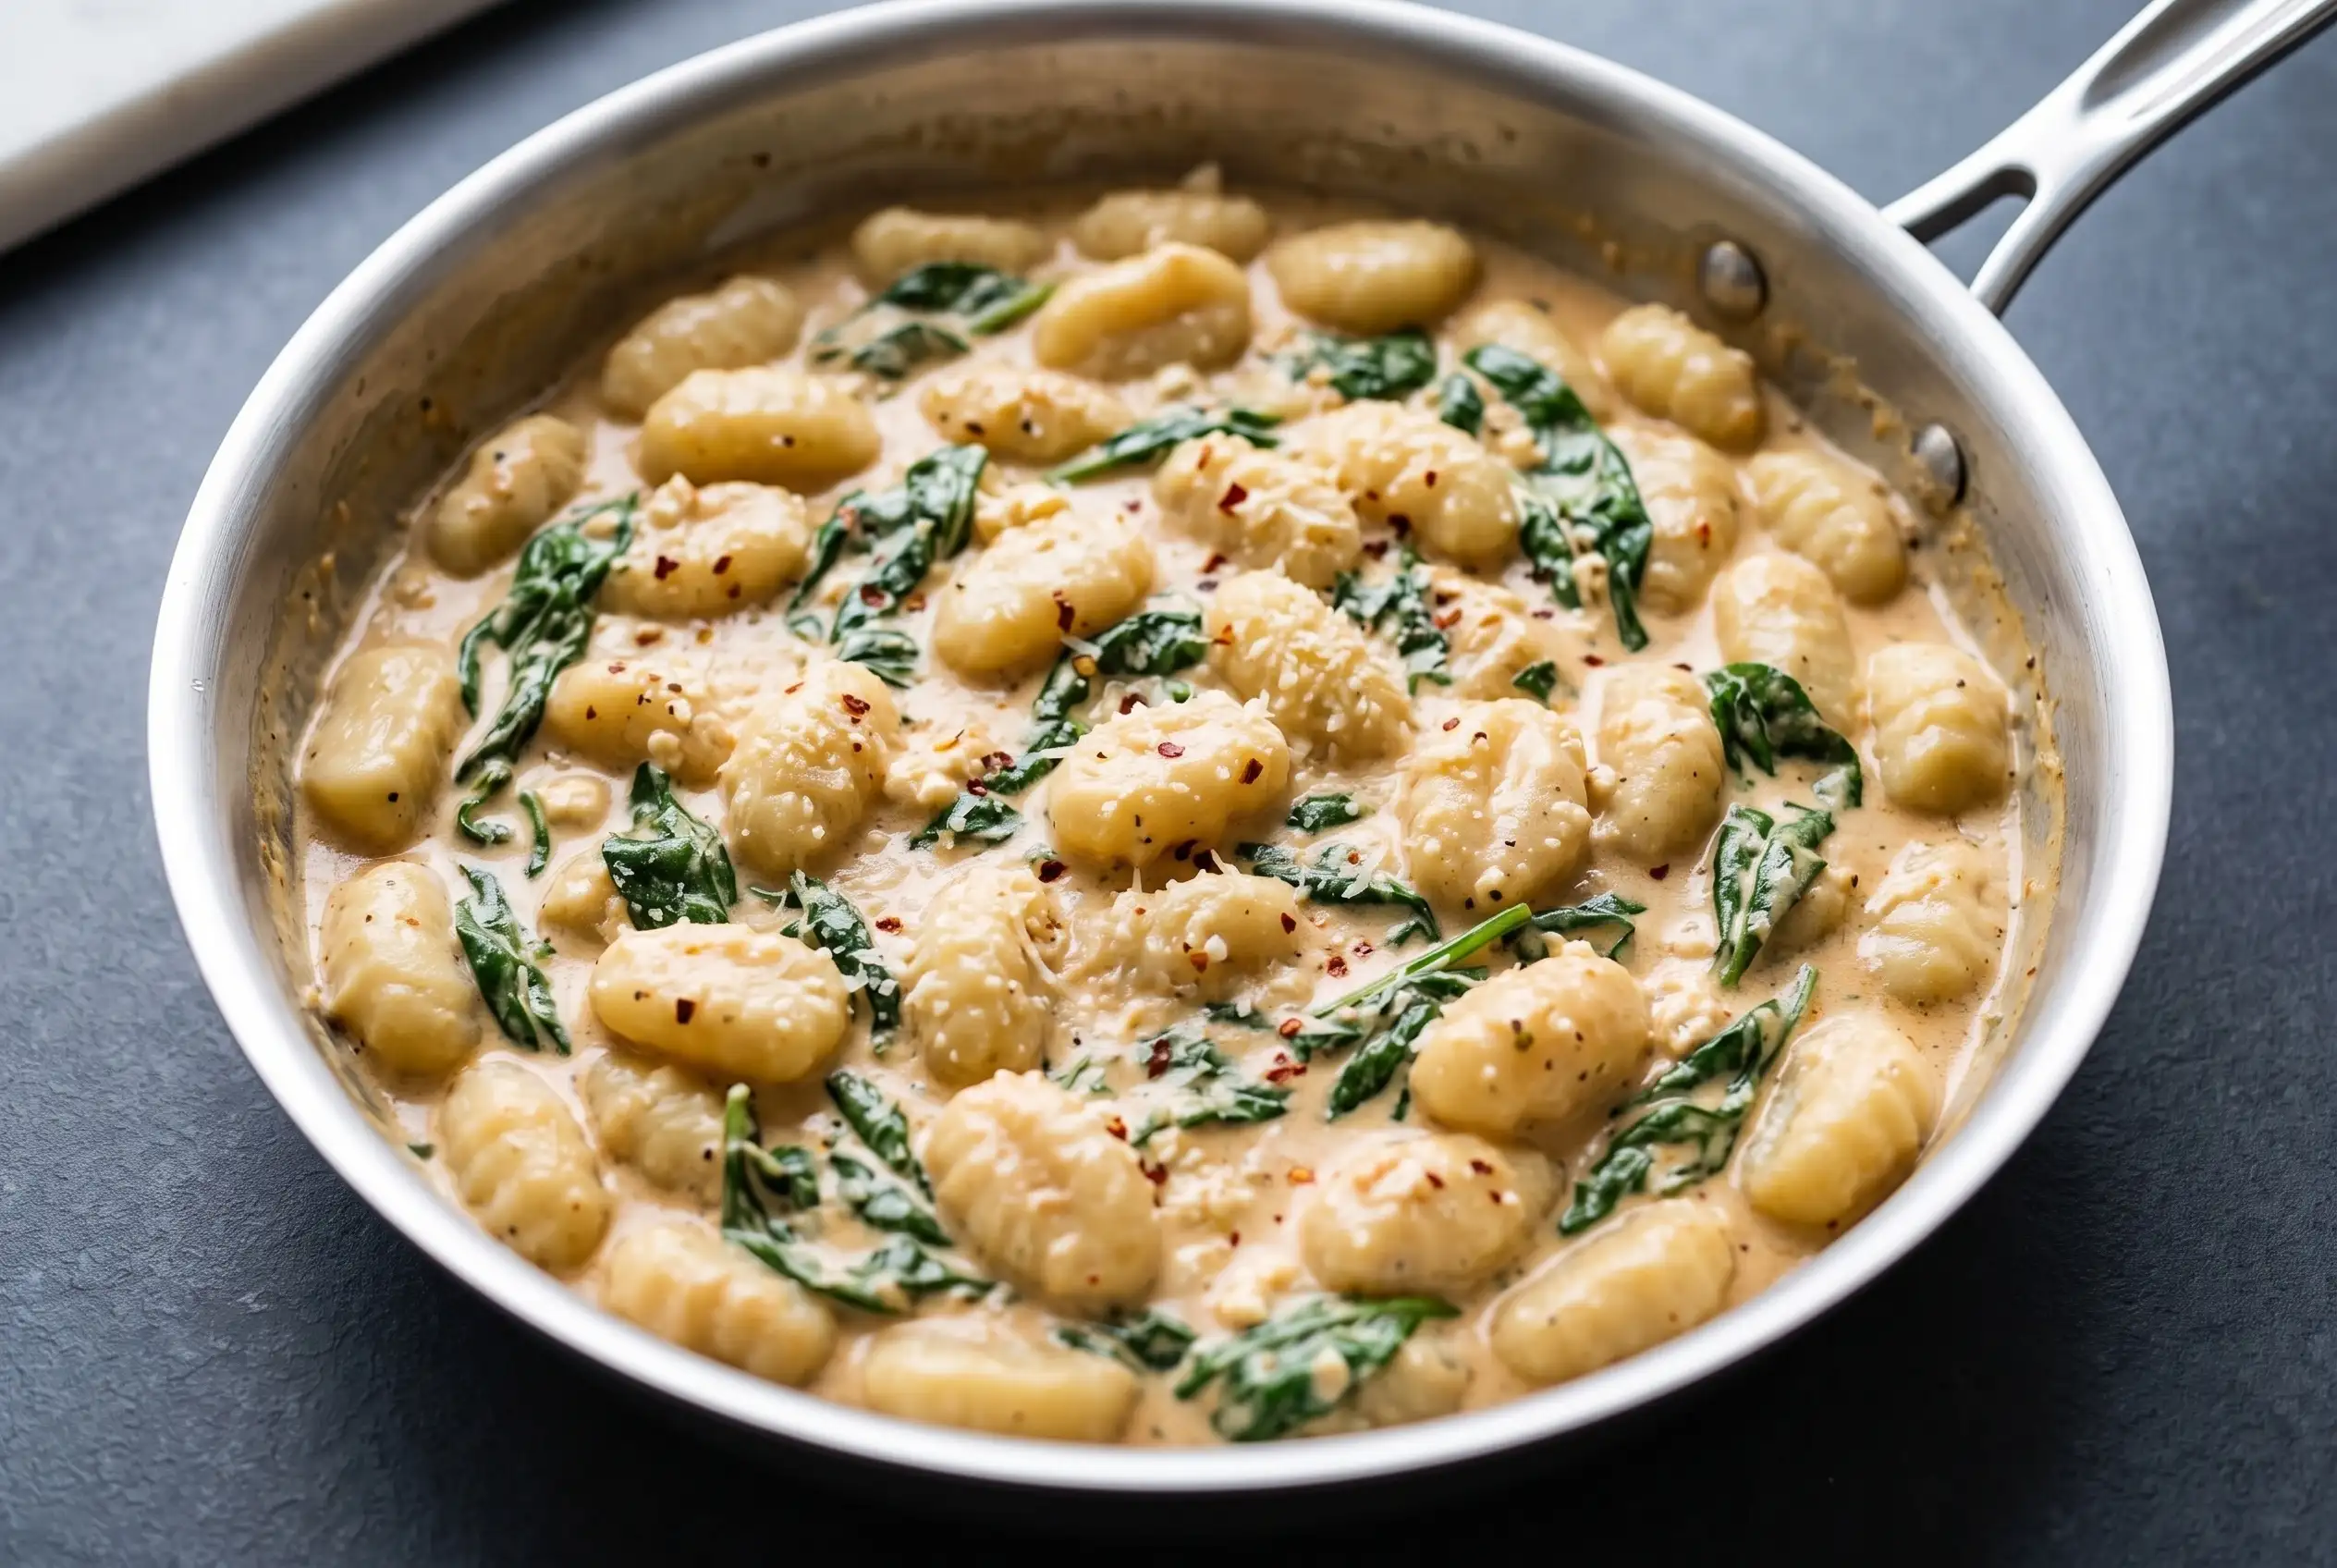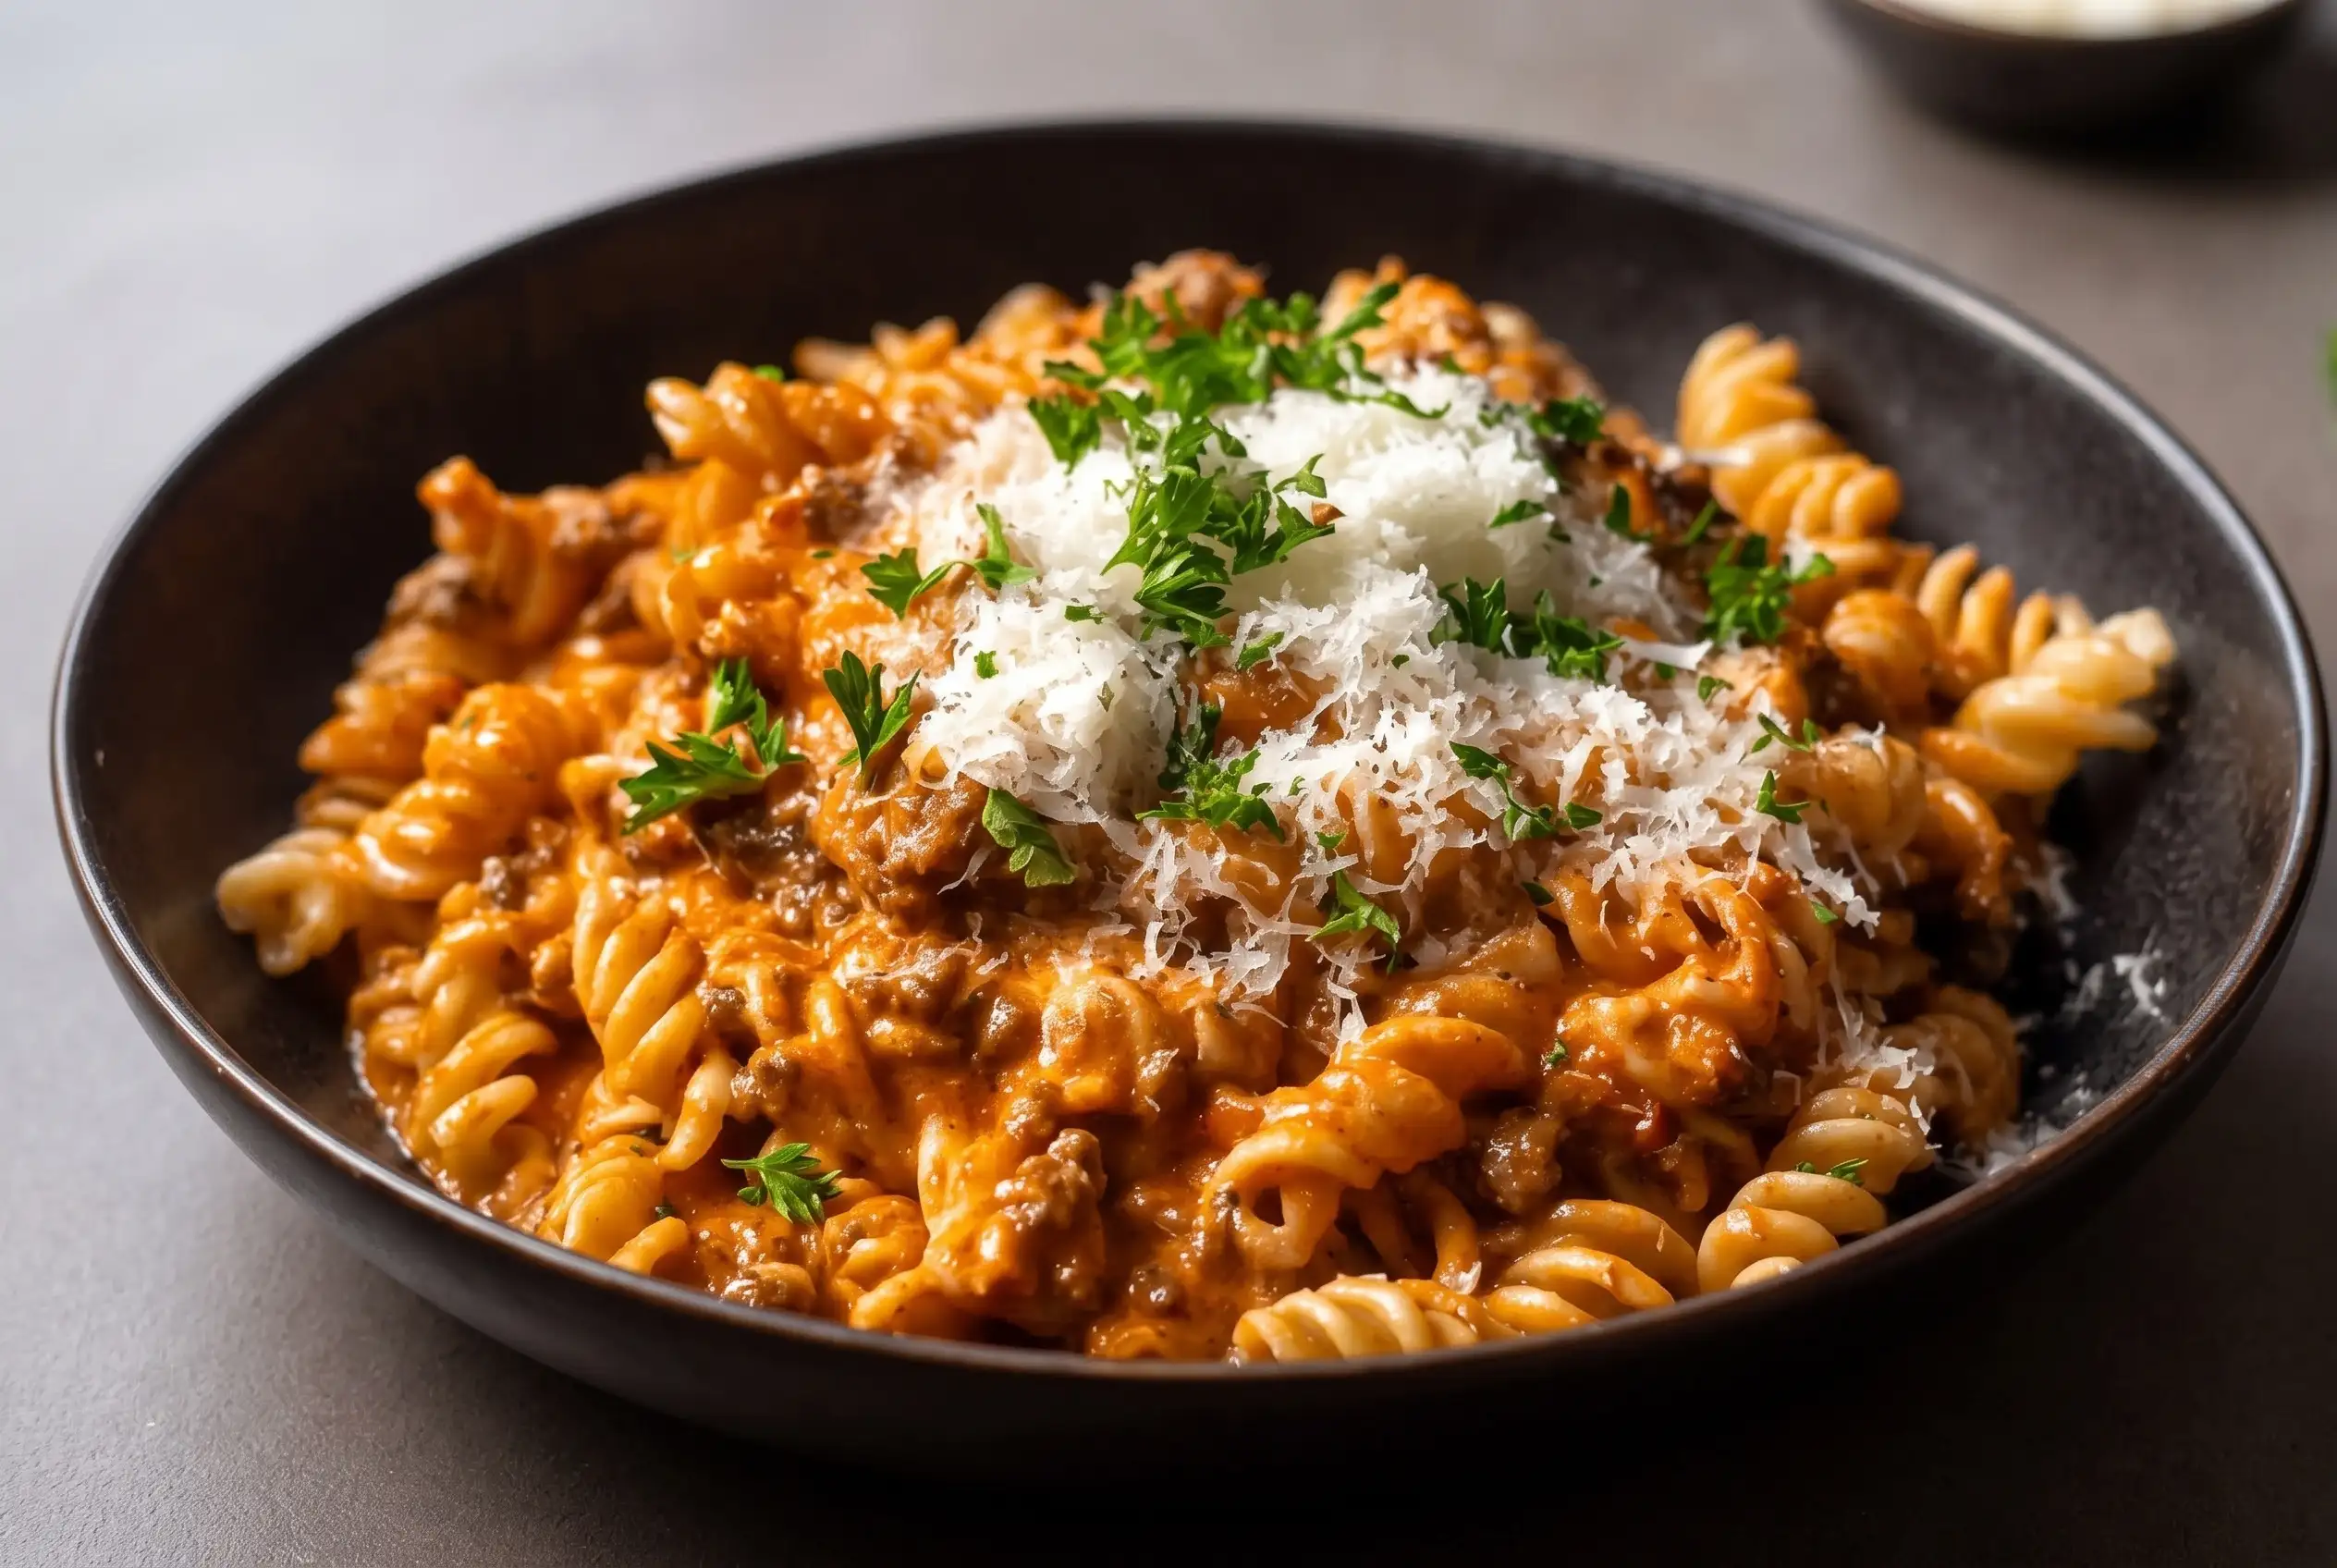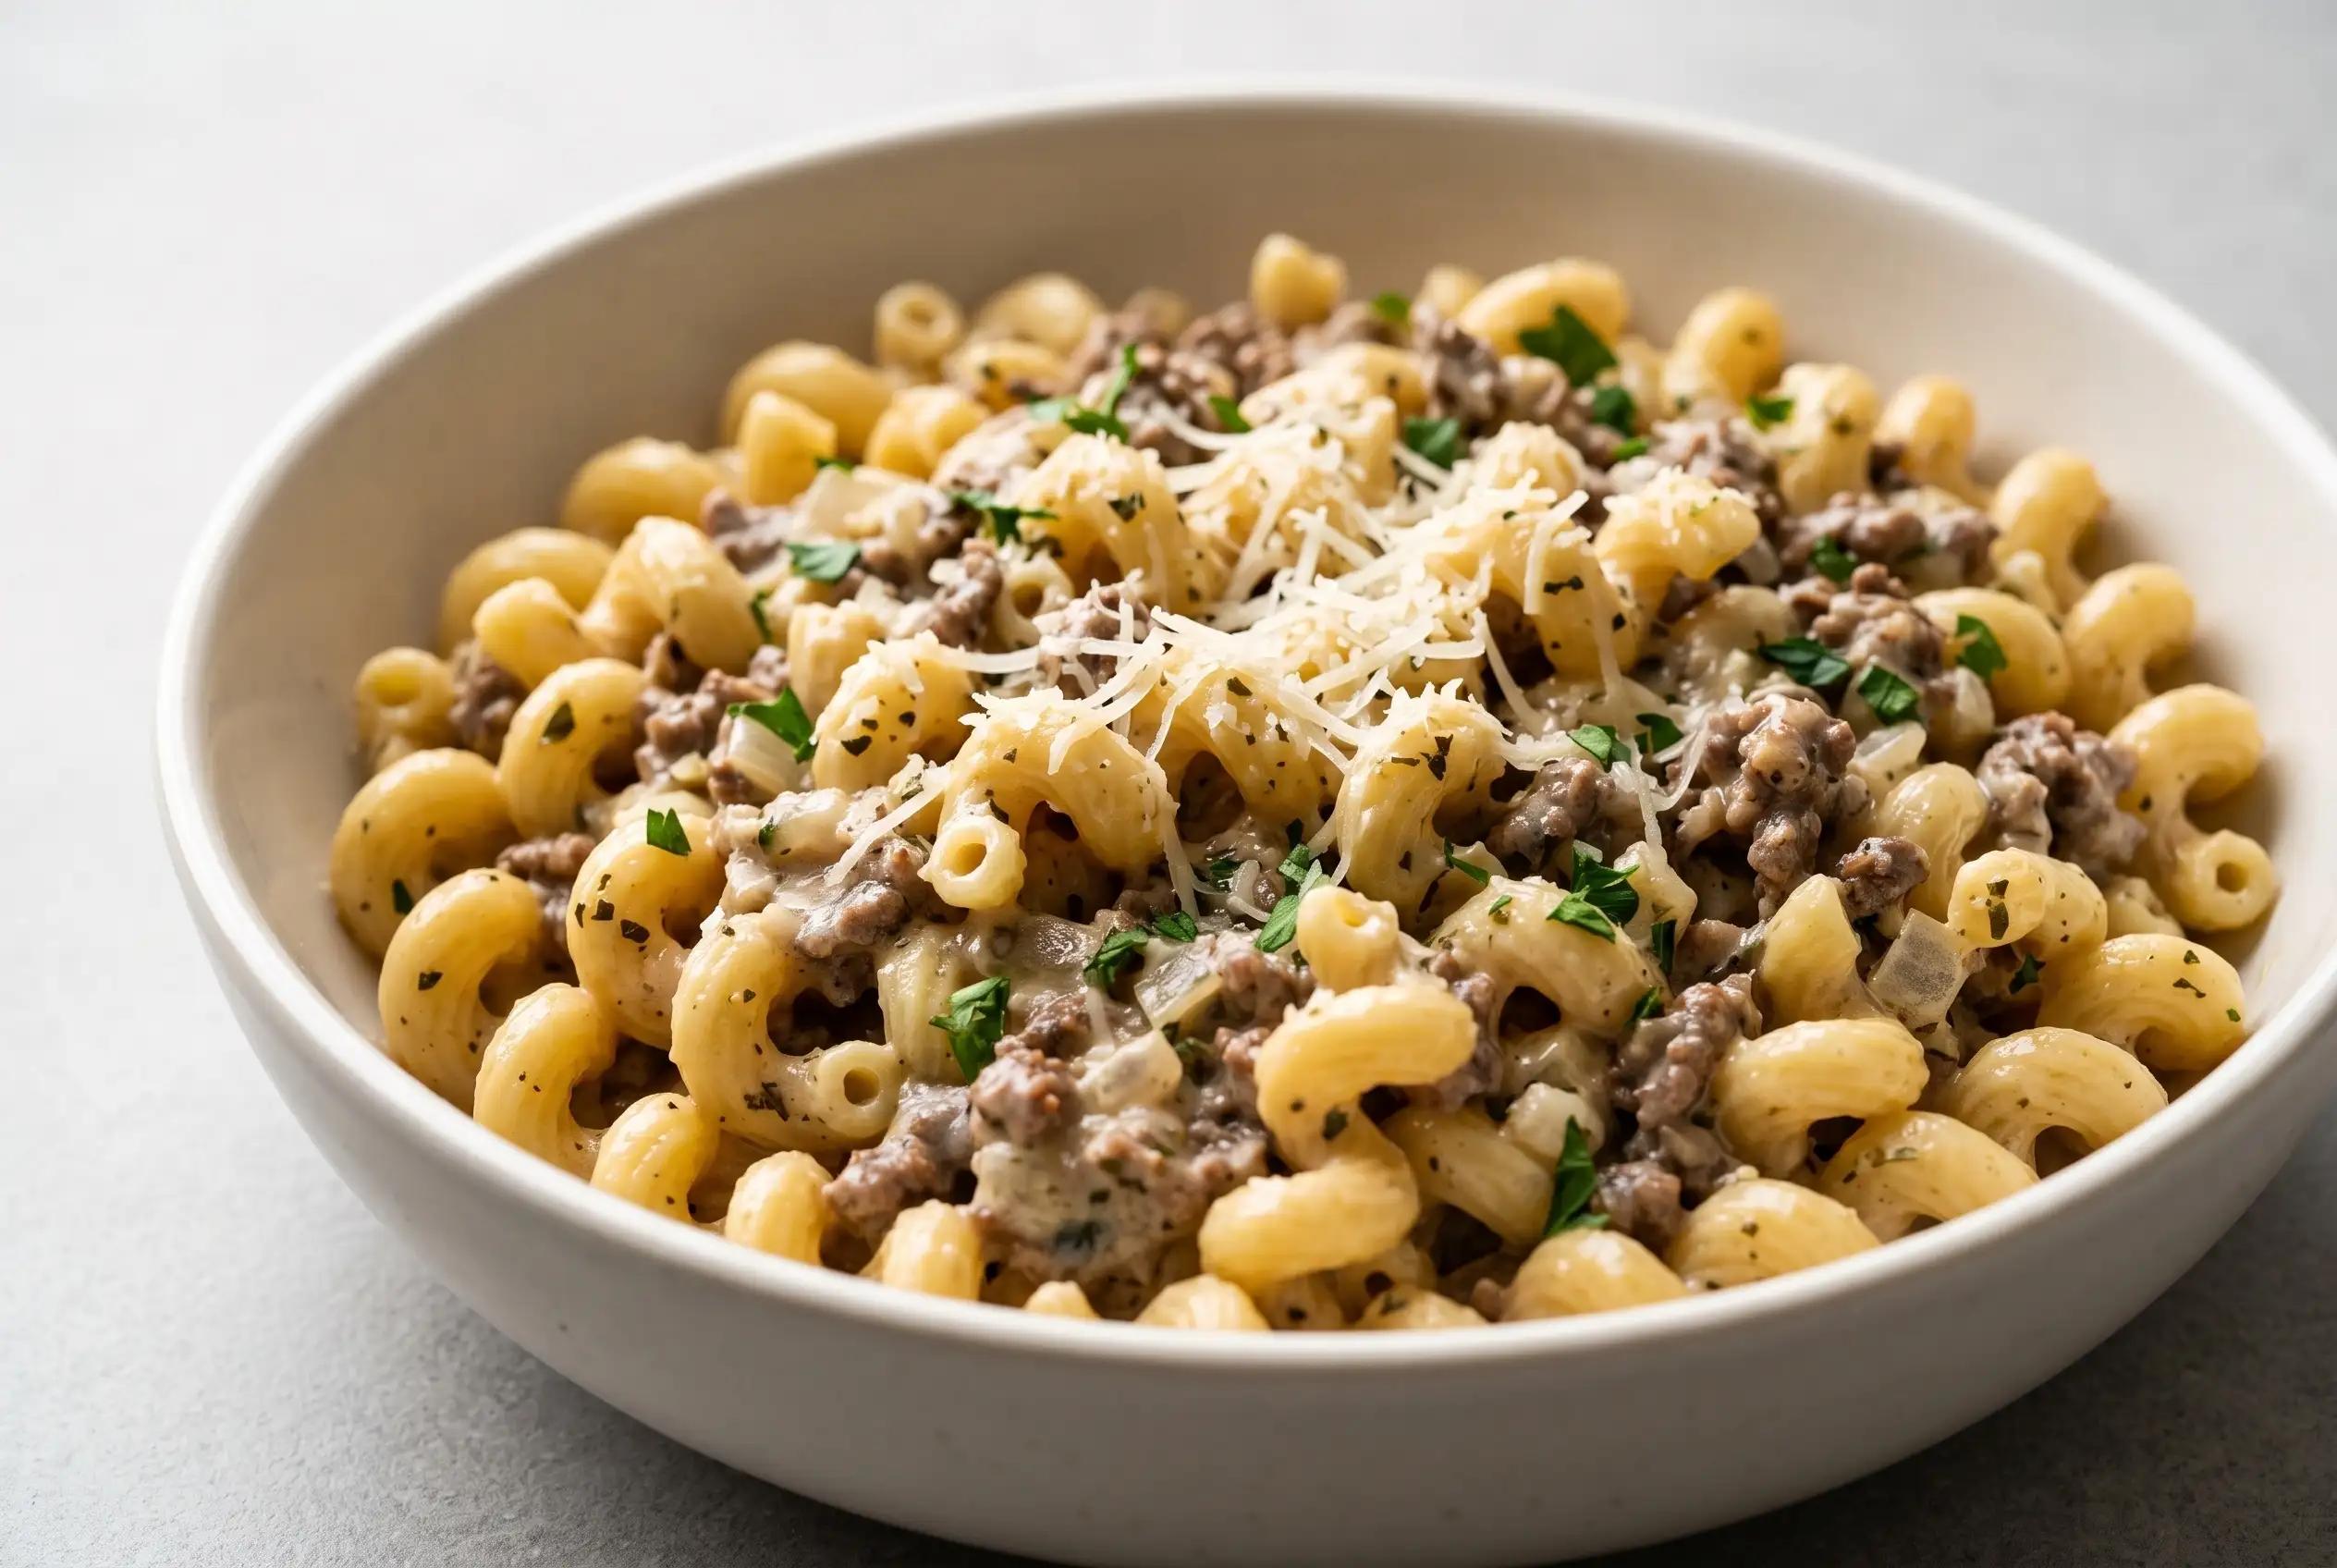
Cheesy Ground Beef Roll with Cheddar and Mozzarella and Parsley
Cheesy Ground Beef Roll for a Cozy Meal
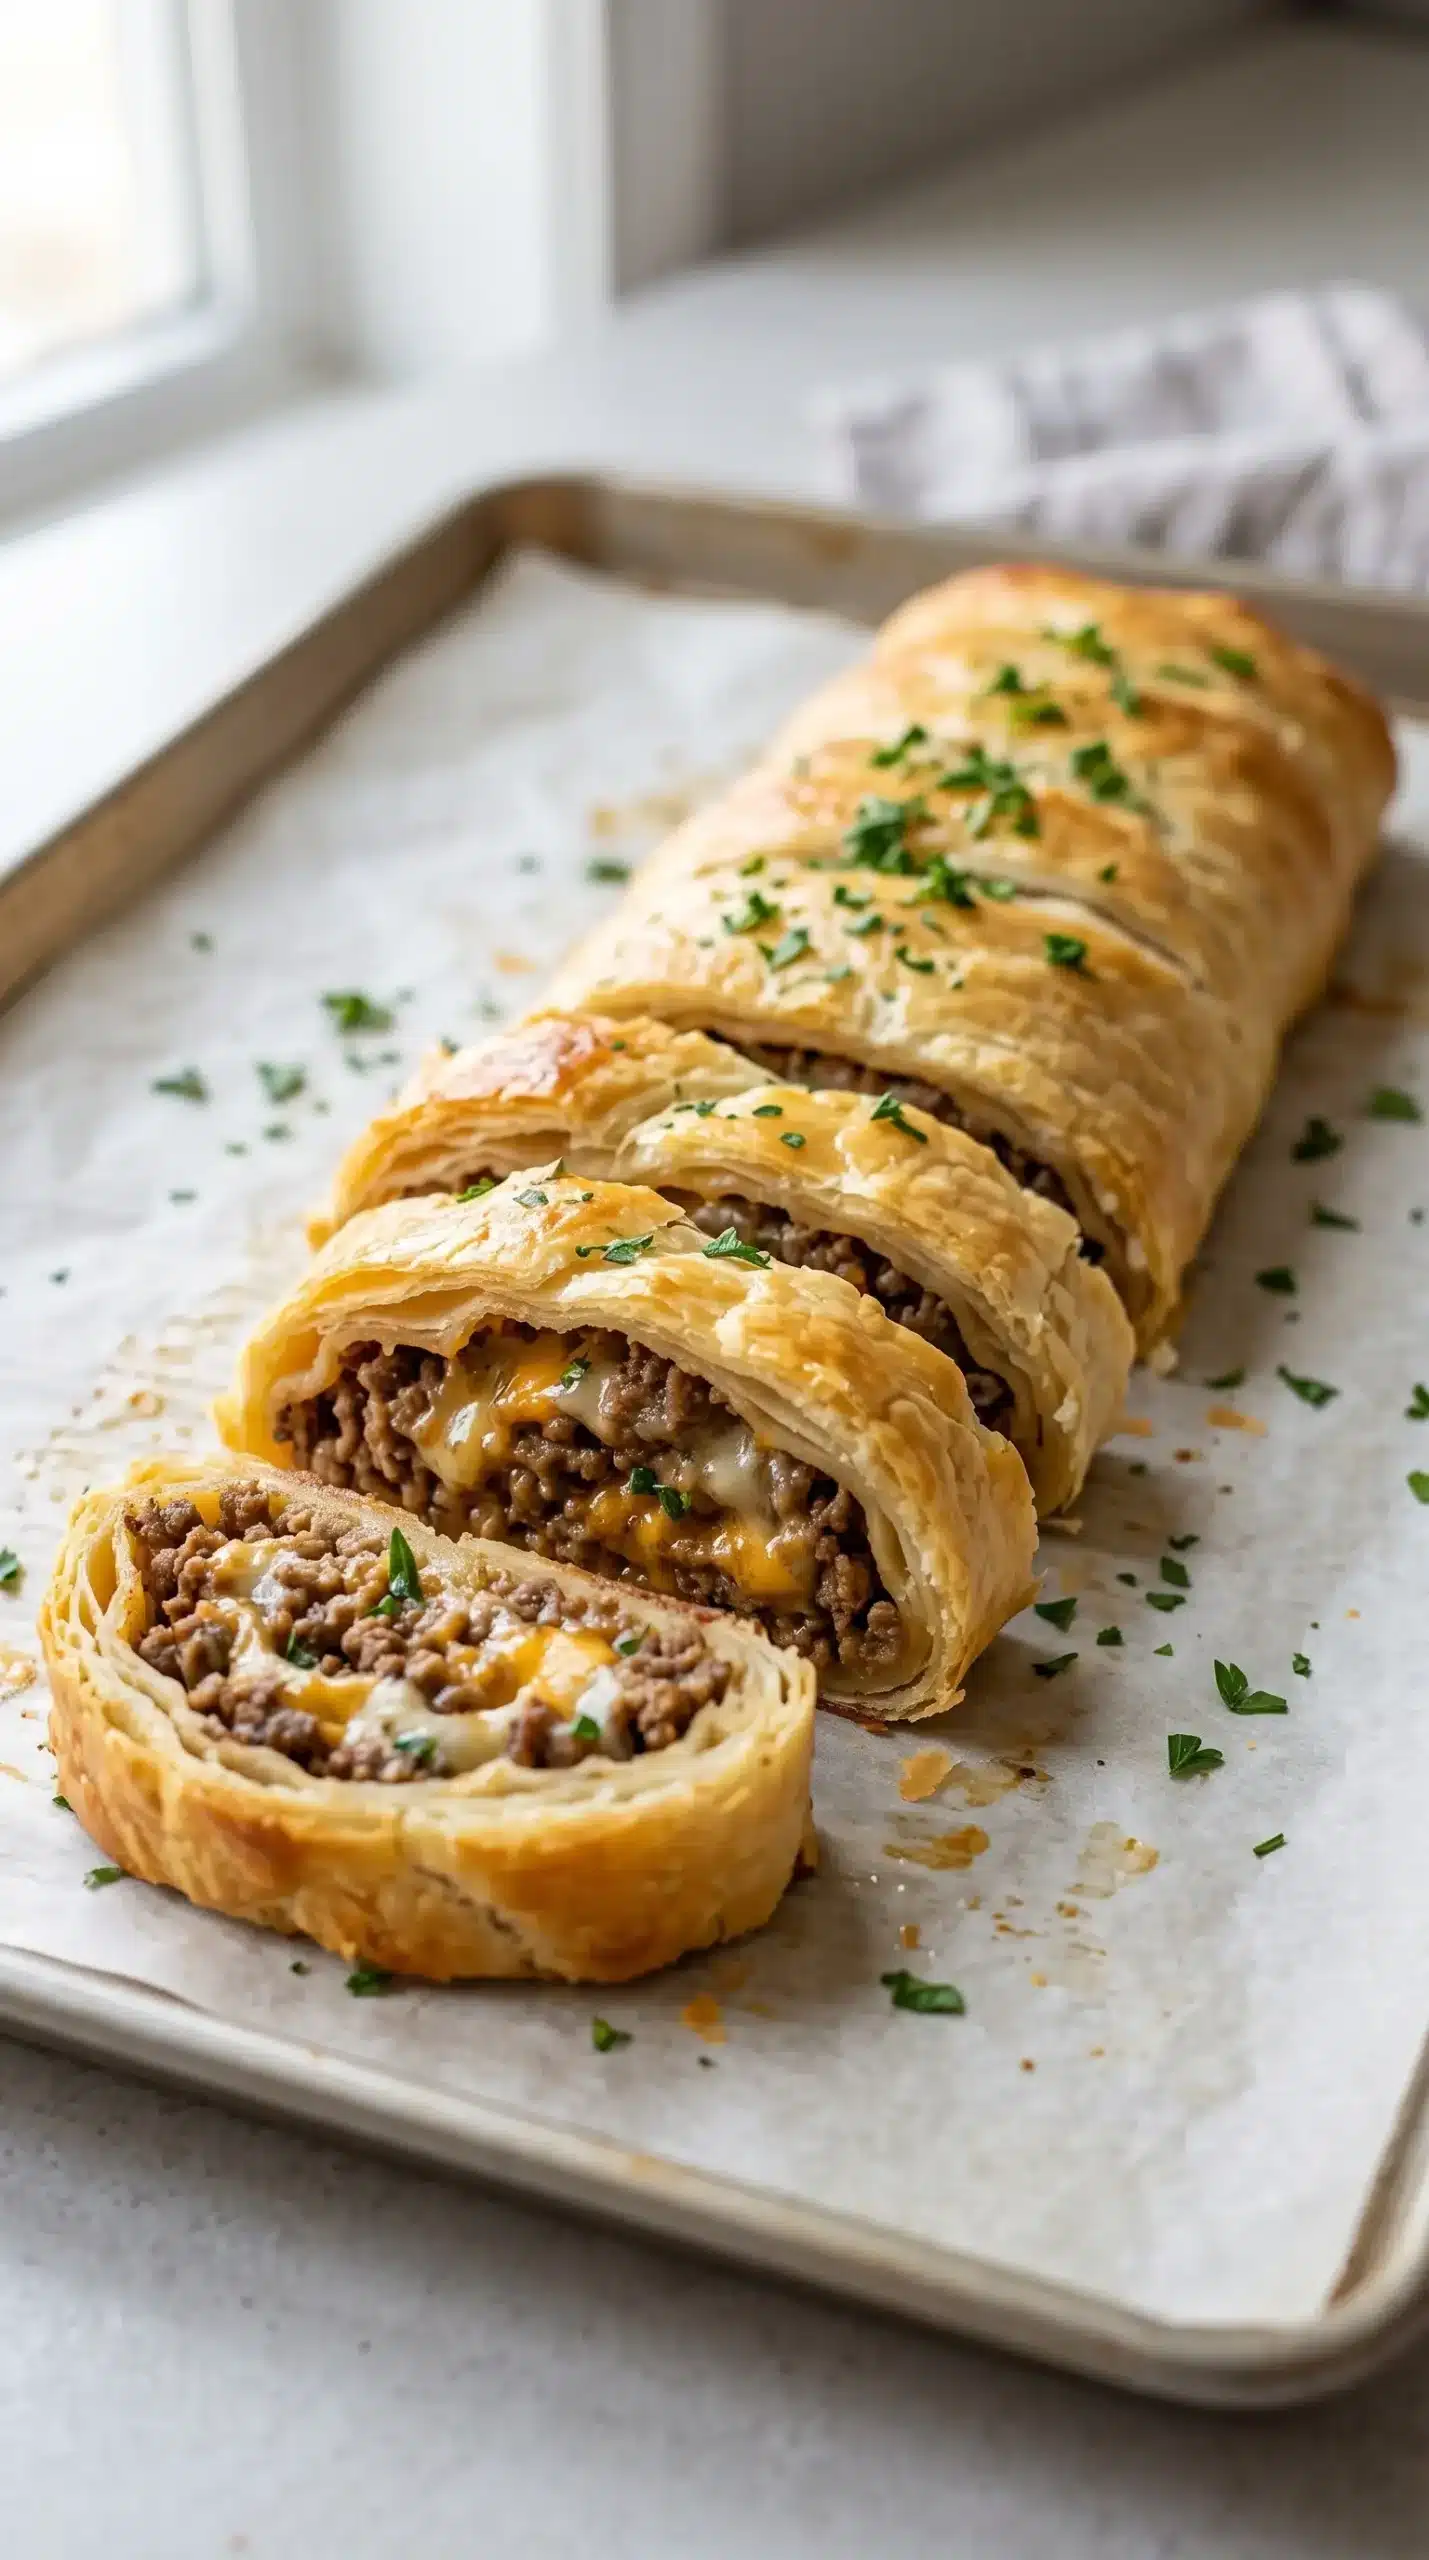
Cheesy ground beef roll brings together seasoned beef, melted cheddar, mozzarella, fresh parsley, and flaky crescent roll dough in one golden baked dish. The filling is hearty without requiring a long ingredient list, while the combination of two cheeses gives every slice a satisfying, gooey center.
Families can serve the roll as a main dish, while smaller slices also work well as an appetizer for a casual gathering. A fresh salad, ranch, or marinara can round out the plate without competing with the savory beef and cheese filling.
Why the Beef and Cheese Filling Works
Ground beef provides the substantial center of the roll, while cheddar and mozzarella create two complementary textures as they warm together. Cheddar brings a familiar sharp, savory character, and mozzarella contributes a softer, stretchy quality to the filling.
Seasoning the browned beef with garlic powder, onion powder, paprika, Italian seasoning, salt, and black pepper keeps the flavor concentrated inside the dough. Fresh parsley adds a bright herbal note and gives the filling some fresh color.
Cooling the seasoned beef briefly before combining it with the cheeses also makes the mixture easier to spread across the crescent dough. The beef should still be warm enough for the cheese to soften slightly, but it does not need to be piping hot when the filling is assembled.
Cheddar, Mozzarella, and Parsley Need the Right Balance
The cheese combination is particularly important in a ground beef cheese roll because the filling needs enough structure to stay inside the dough while still becoming soft during baking. Shredded cheddar supplies the stronger cheese flavor, whereas shredded mozzarella helps create a cohesive, melty center.
| Filling element | How to handle it | Why it matters |
|---|---|---|
| Cheddar | Use the measured shredded amount | Provides the prominent cheesy flavor |
| Mozzarella | Combine it with the cheddar | Helps create a soft, melty filling |
| Fresh parsley | Chop before mixing | Adds fresh herbal flavor and color |
Keep the Crescent Dough Intact
Crescent roll dough forms the outer layer that holds the beef and cheese together, so handling it carefully during assembly matters. Unroll the dough as one large piece and press its seams together before adding the filling. A sealed surface makes spreading easier and helps prevent the mixture from escaping through open seams.
Rolling Technique Controls the Filling
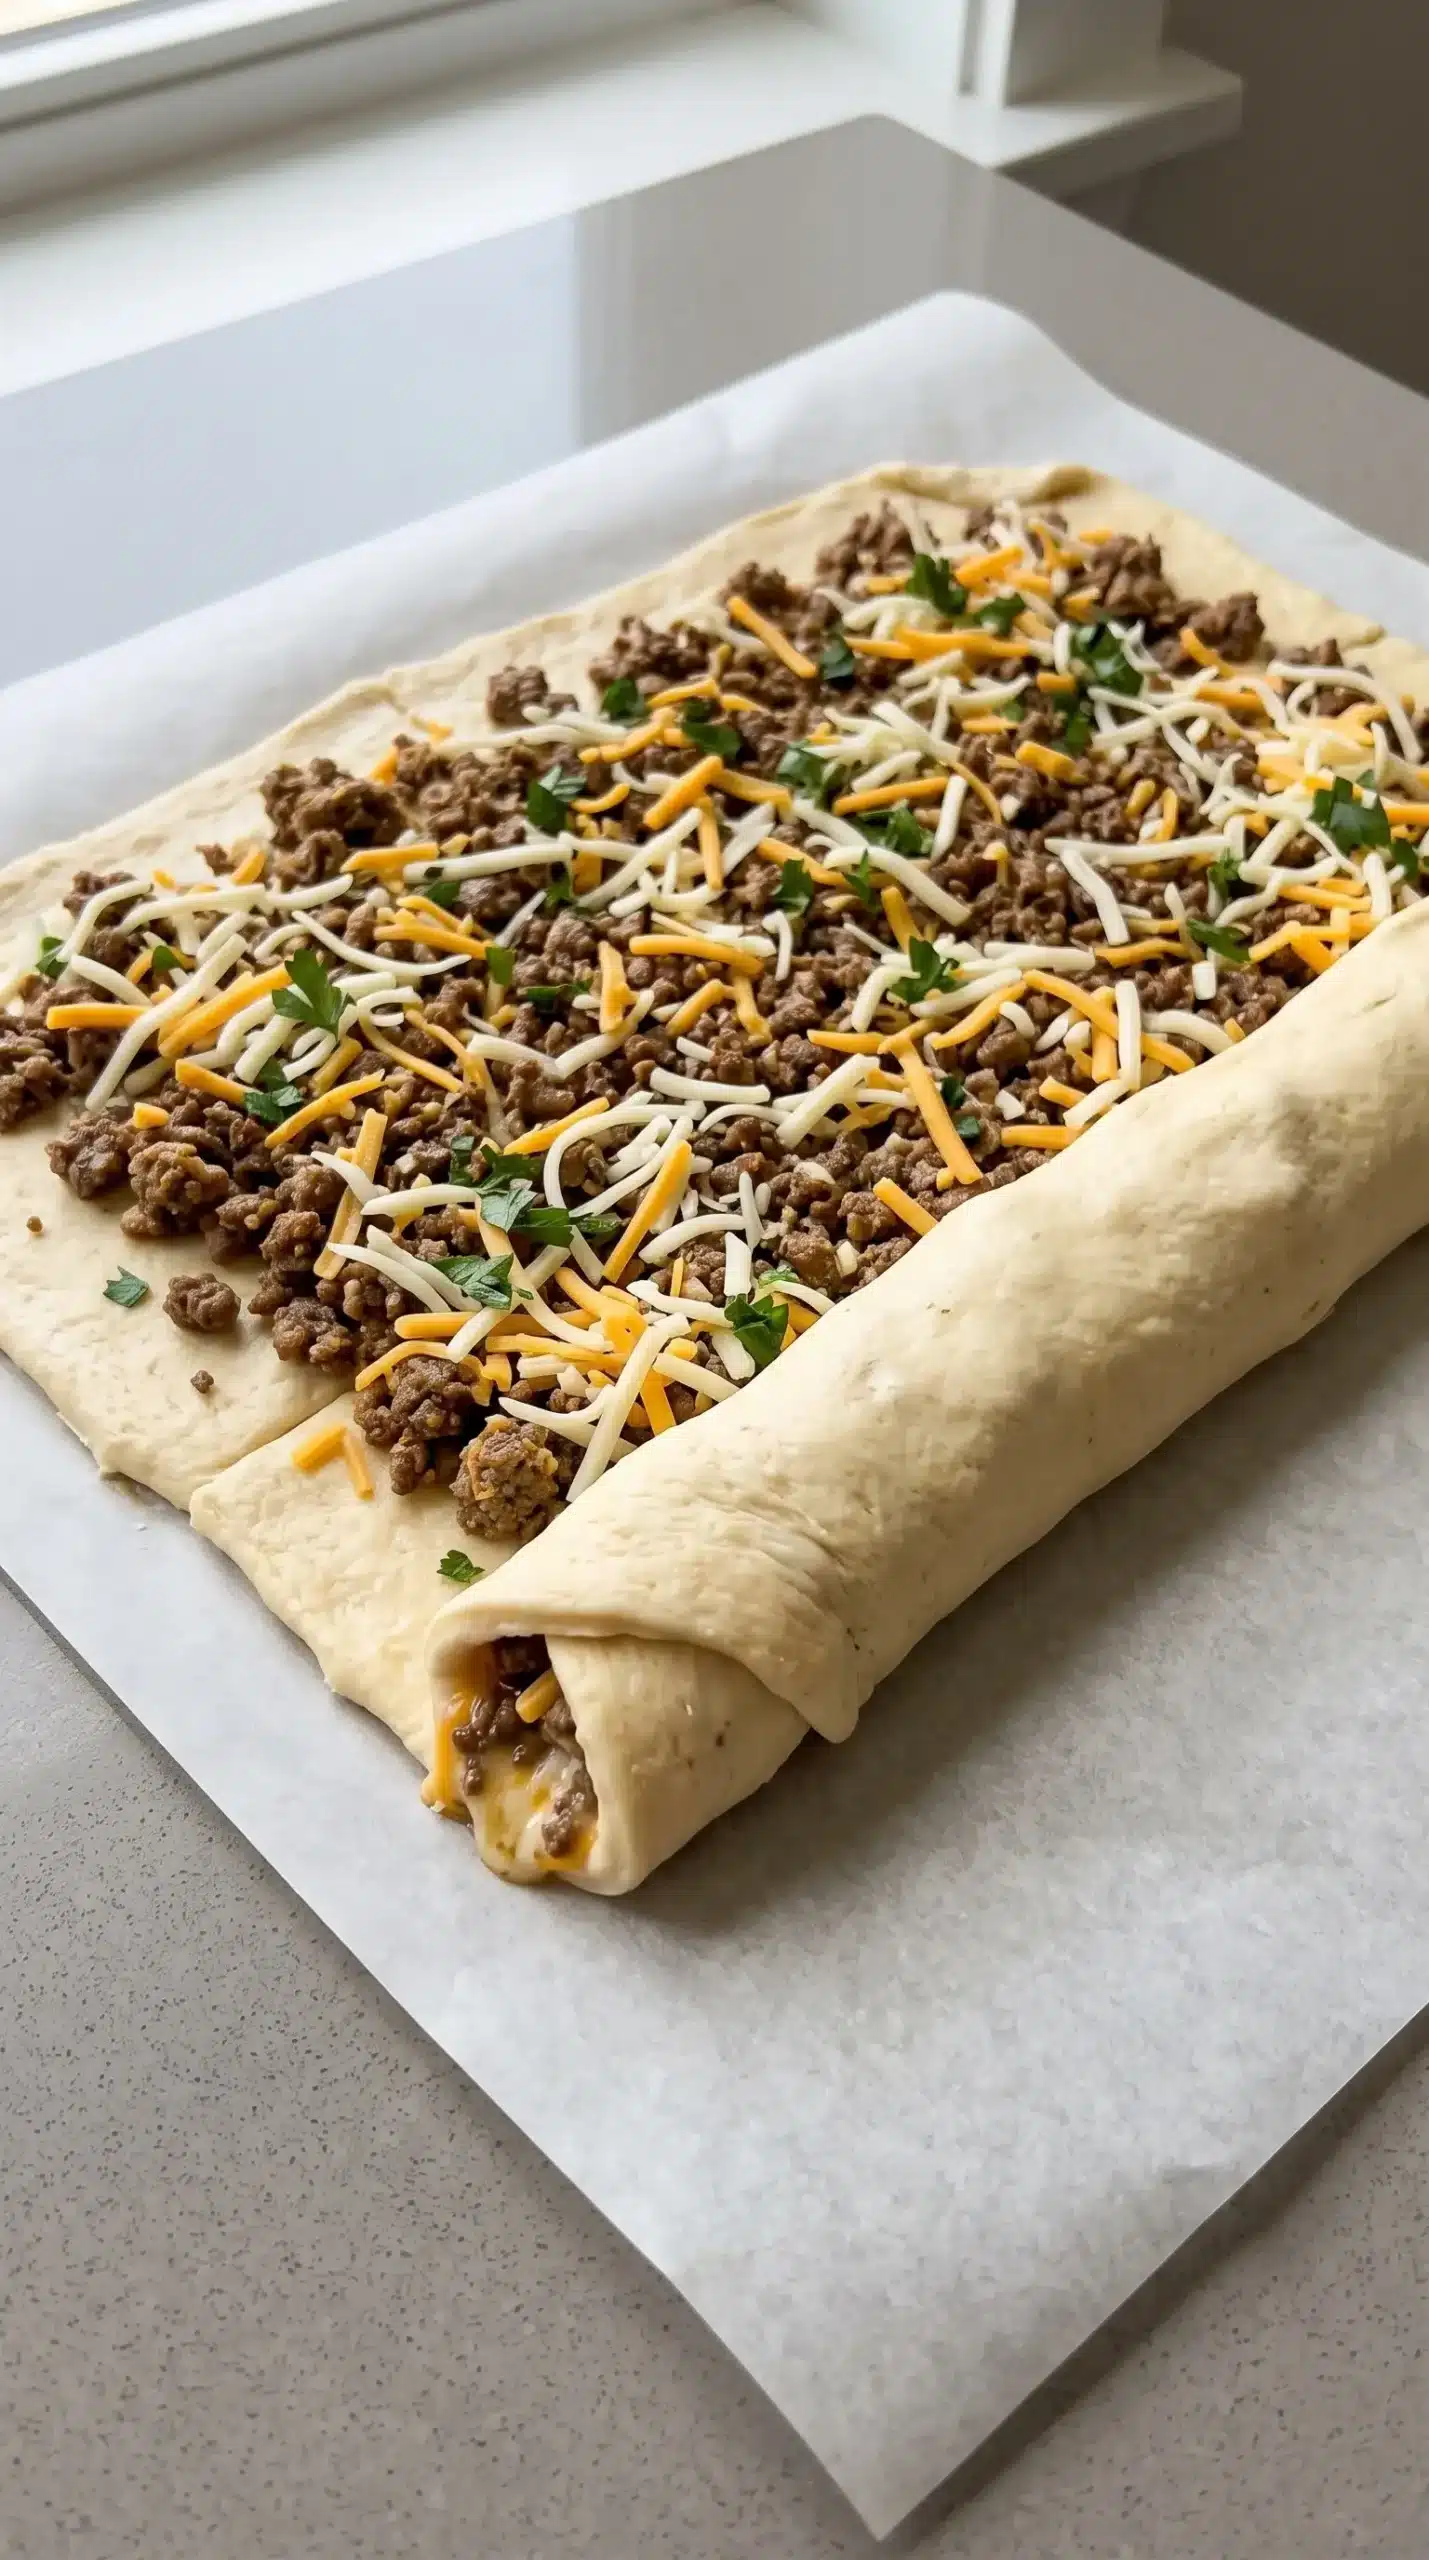
Even distribution is the key decision before the dough is rolled. Spread the beef mixture across the surface while leaving a small border around the edges. That margin gives the filling room to settle as the dough is rolled and makes sealing the finished log easier.
Starting along a long side allows the dough to form a compact log with the filling enclosed throughout. Roll carefully and steadily, then pinch the seam closed and tuck in the ends. Placing the log seam-side down on the baking sheet keeps the closure against the parchment during baking.
Brushing the top and sides with an egg wash for a golden-brown finish gives the crescent dough an appealing baked color. Use enough to coat the surface lightly without flooding the seams or pooling around the bottom of the roll.
Golden Baking Depends on a Secure Seal
Oven temperature and positioning both contribute to the finished texture. Baking at 375°F (190°C) gives the crescent dough the heat needed to become golden while the cheese-filled center warms through. Parchment on the baking sheet also makes handling and cleanup easier.
Watch the surface as the roll approaches the end of its baking period. A properly baked exterior should be golden brown, while the roll should be fully cooked through. The listed baking window is 20 to 25 minutes, but the visible condition of the dough remains an important cue.
Once baked, allowing the roll to rest for five minutes makes slicing more manageable. Cutting immediately can disturb the warm filling, whereas a short pause lets the interior settle enough for clean, thick rounds.
Cheesy Ground Beef Roll Mistakes to Avoid
- Open dough seams: Press the crescent dough seams together before spreading the filling so the mixture has a continuous surface to sit on.
- Overfilled edges: Keep a little space around the perimeter so the beef and cheese do not crowd the sealing areas.
- Loose rolling: Form a tight log and pinch the seam closed to keep the filling enclosed during baking.
- Excess grease: Drain extra grease from the browned beef before seasoning and mixing it with the cheese.
- Skipping the rest: Give the baked roll five minutes to cool before slicing so the rounds are easier to handle.
Flavor Changes That Stay Close to the Original
Diced bell peppers or mushrooms can be mixed into the beef for a variation that adds vegetables to the filling. Keep the additions compatible with the existing beef, cheese, and seasoning combination so the crescent dough remains the focus of the finished roll.
Different cheese combinations can also change the character of the center while preserving the basic approach. The supplied combination of cheddar and mozzarella provides the reference point, but a preferred cheese blend can be used when a different flavor is wanted.
A Plant-Based Version Uses the Same Roll Format
Plant-based ground meat can replace the ground beef for a meat-free variation. Additional vegetables such as zucchini or spinach can be incorporated into the filling as well, keeping the same crescent-dough format and cheesy center.
Serving Ideas for Warm Slices
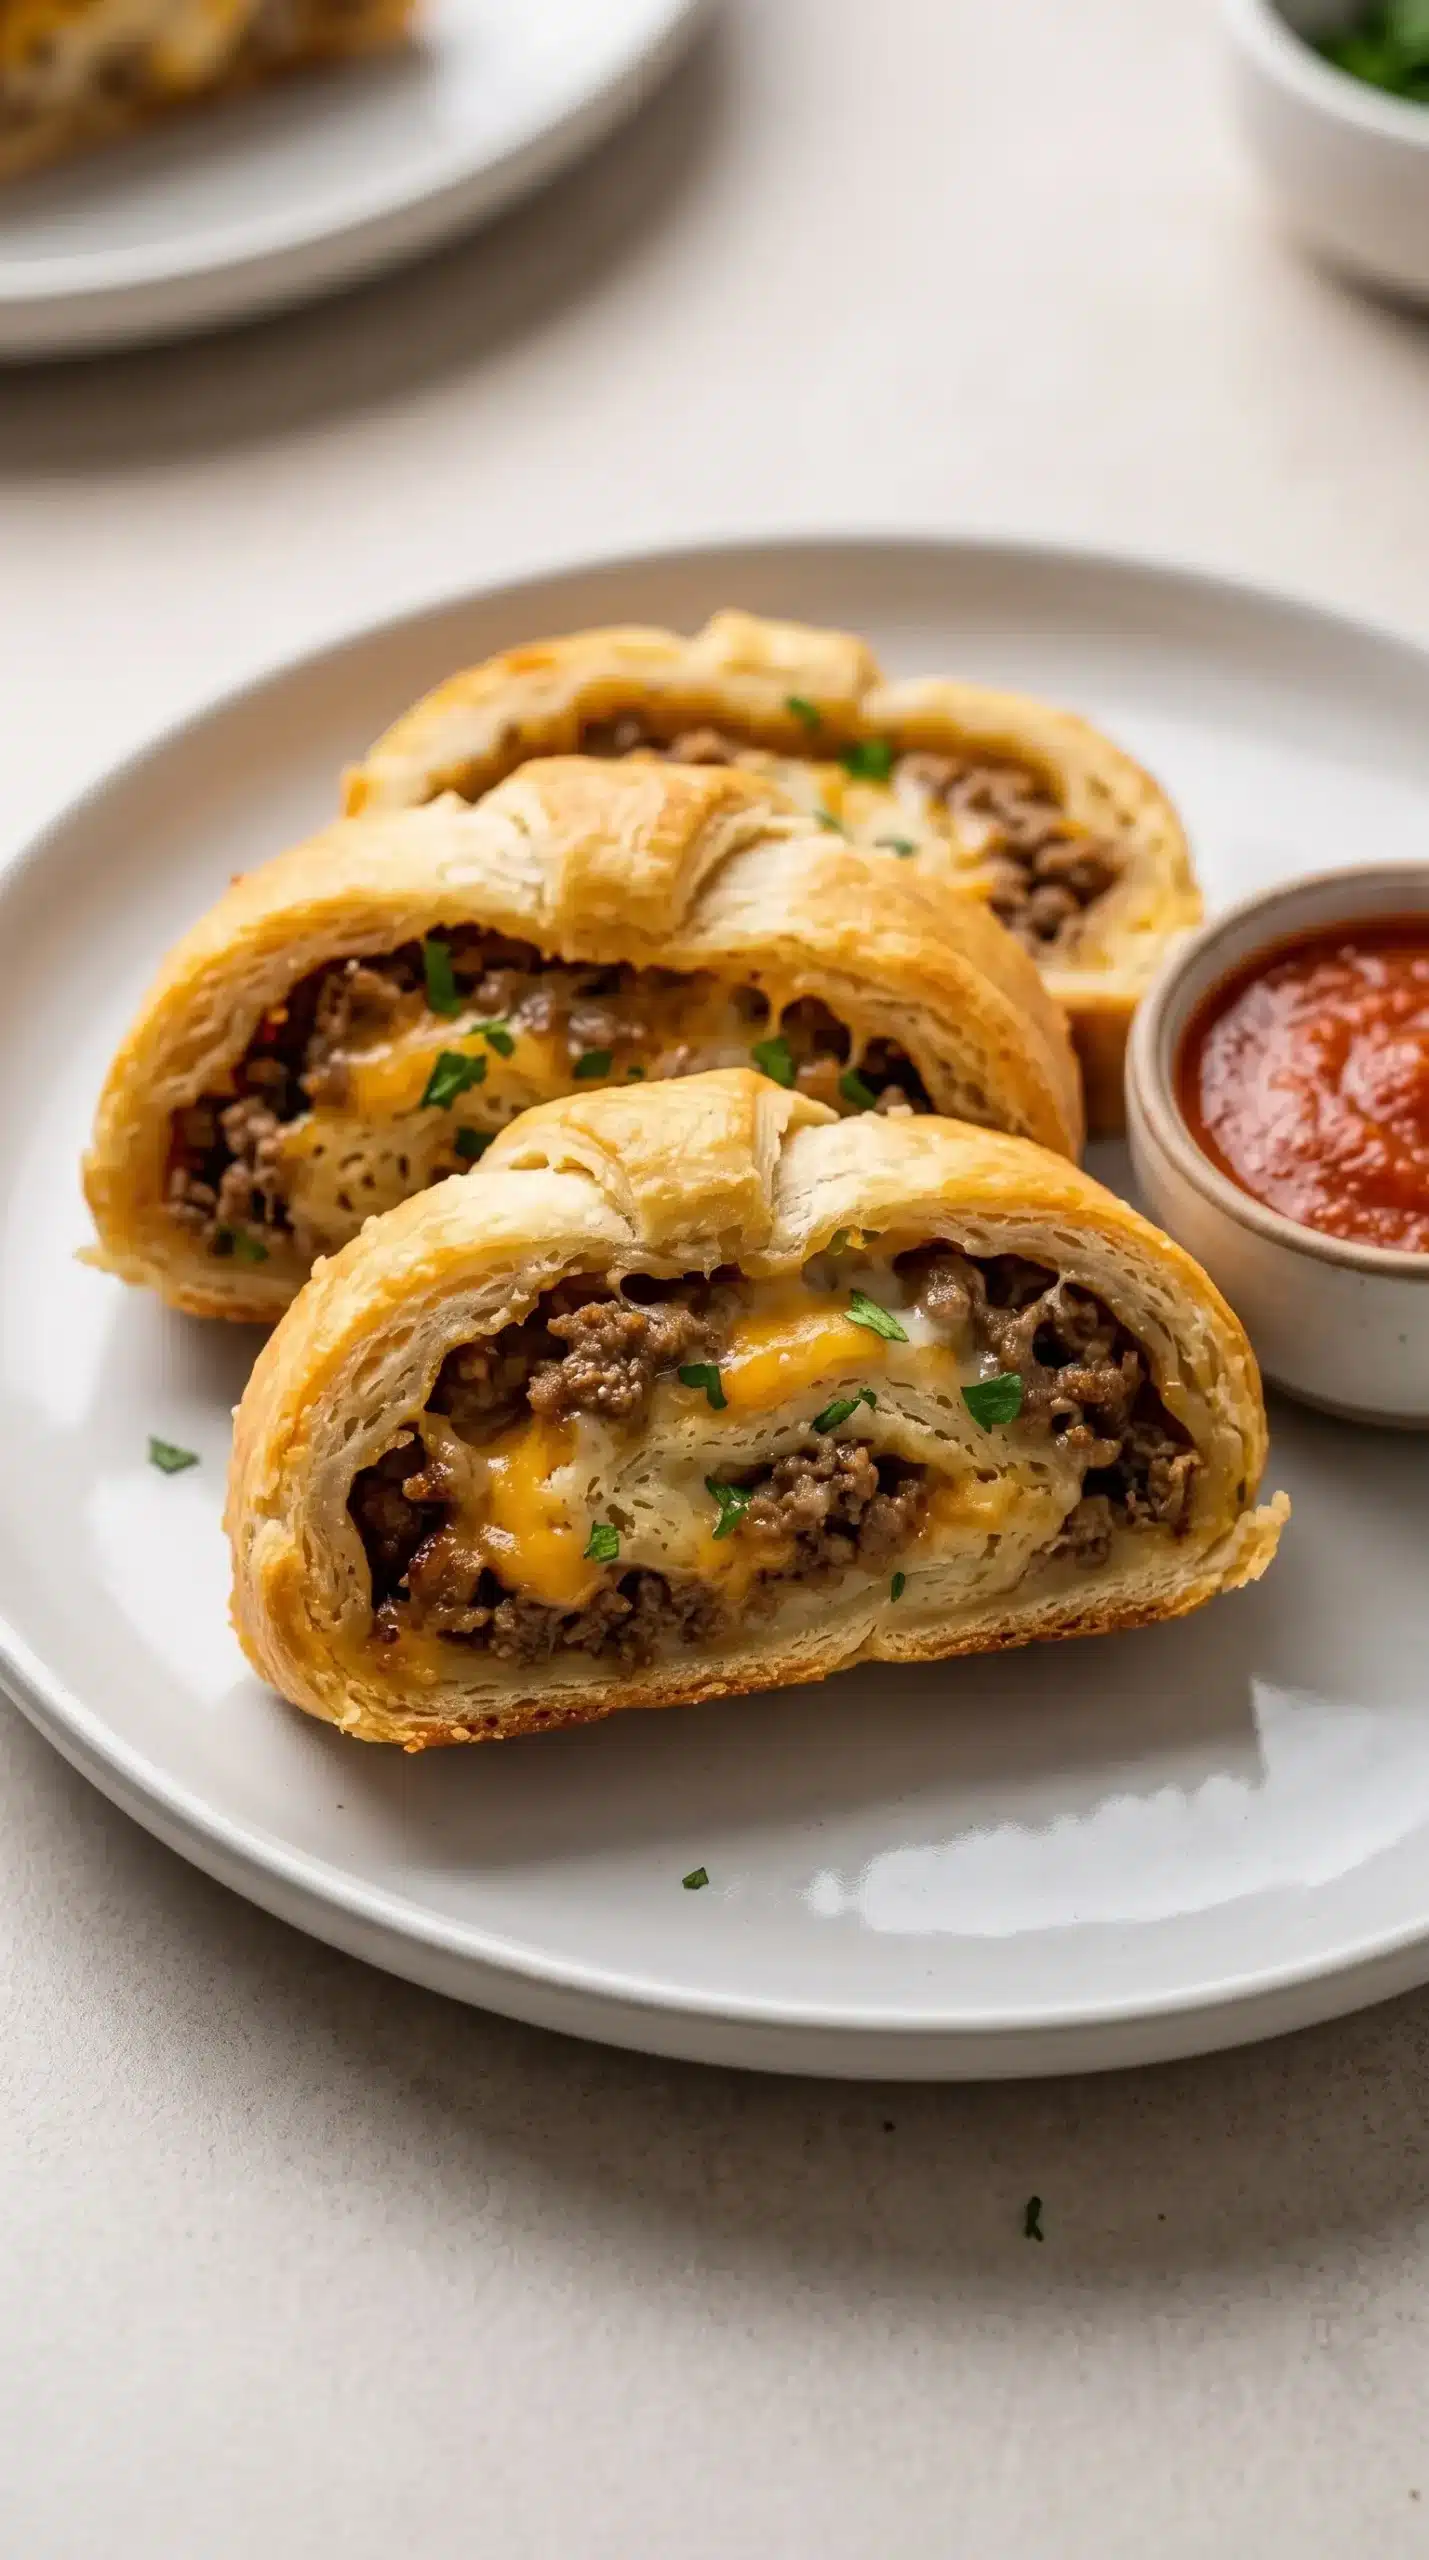
Warm slices can serve as either the centerpiece of a simple meal or a shareable appetizer. The roll already contains beef, cheese, seasoning, parsley, and dough, so accompaniments can stay uncomplicated.
| Serving approach | Pairing | Best use |
|---|---|---|
| Main dish | Fresh salad | A balanced, simple plate |
| Appetizer | Ranch dipping sauce | Easy casual serving |
| Appetizer or meal | Marinara sauce | A flavorful dipping option |
| Meal accompaniment | Garlic bread | A more substantial spread |
Storage Keeps Leftover Slices Convenient
Refrigerated leftovers can be placed in an airtight container and kept for up to three days. Slicing the roll before storage makes individual portions easy to take out when needed.
For longer storage, wrap the roll tightly in plastic wrap and then in foil before placing it in the freezer. Frozen storage can extend up to one month according to the supplied guidance, making the baked roll useful when a portion needs to be saved for later.
Make-Ahead Preparation Simplifies Assembly
The beef filling can be prepared a day ahead, which separates the seasoning and browning work from the dough assembly. Once the filling is ready, the remaining preparation focuses on spreading it over the crescent dough, rolling the log, sealing it, and applying the egg wash.
Keeping the assembly stage separate also gives the filling time to cool from its skillet temperature. That makes it easier to distribute across the dough without making the crescent surface unnecessarily difficult to handle.
What Makes a Cheesy Ground Beef Roll Successful
A golden crescent exterior surrounding a contained, cheesy beef center is the clearest sign that the key decisions have come together. The beef needs to be browned and drained, the filling needs an even spread, and the dough needs a secure seam before it enters the oven.
Once those points are controlled, the combination of cheddar, mozzarella, seasoned ground beef, parsley, and crescent dough delivers the intended contrast between a flaky outside and warm, savory center. Letting the baked roll rest briefly before slicing helps preserve that structure on the plate.
Cheesy Ground Beef Roll Questions About Baking and Storage
Can the beef filling be prepared ahead?
Yes. The beef filling can be prepared the day before and kept ready for assembly. When you are ready to bake, spread the prepared filling over the crescent dough and continue with the rolling, sealing, egg wash, and baking steps.
How can the roll be made without ground beef?
Plant-based ground meat provides the suggested alternative for a meat-free version. Zucchini or spinach can also be added to the filling to increase the vegetable component while maintaining the overall roll format.
Can puff pastry replace crescent roll dough?
Puff pastry or homemade dough can be used when a different exterior texture or flavor is preferred. The supplied preparation specifically uses refrigerated crescent roll dough, so changing the dough may alter the finished texture and baking behavior.
What should be served with a ground beef roll with cheese?
A fresh salad provides a simple side, while ranch and marinara work as dipping sauces. Garlic bread is another suggested accompaniment when the roll is served as part of a more substantial meal.
How should leftovers be frozen?
Wrap the roll tightly first in plastic wrap and then in foil before placing it in the freezer. The supplied storage guidance allows frozen storage for up to one month.
Why should the roll rest before slicing?
A five-minute rest gives the warm baked roll time to settle before it is cut. That makes the thick rounds easier to slice and handle while the cheese-filled center is still warm.
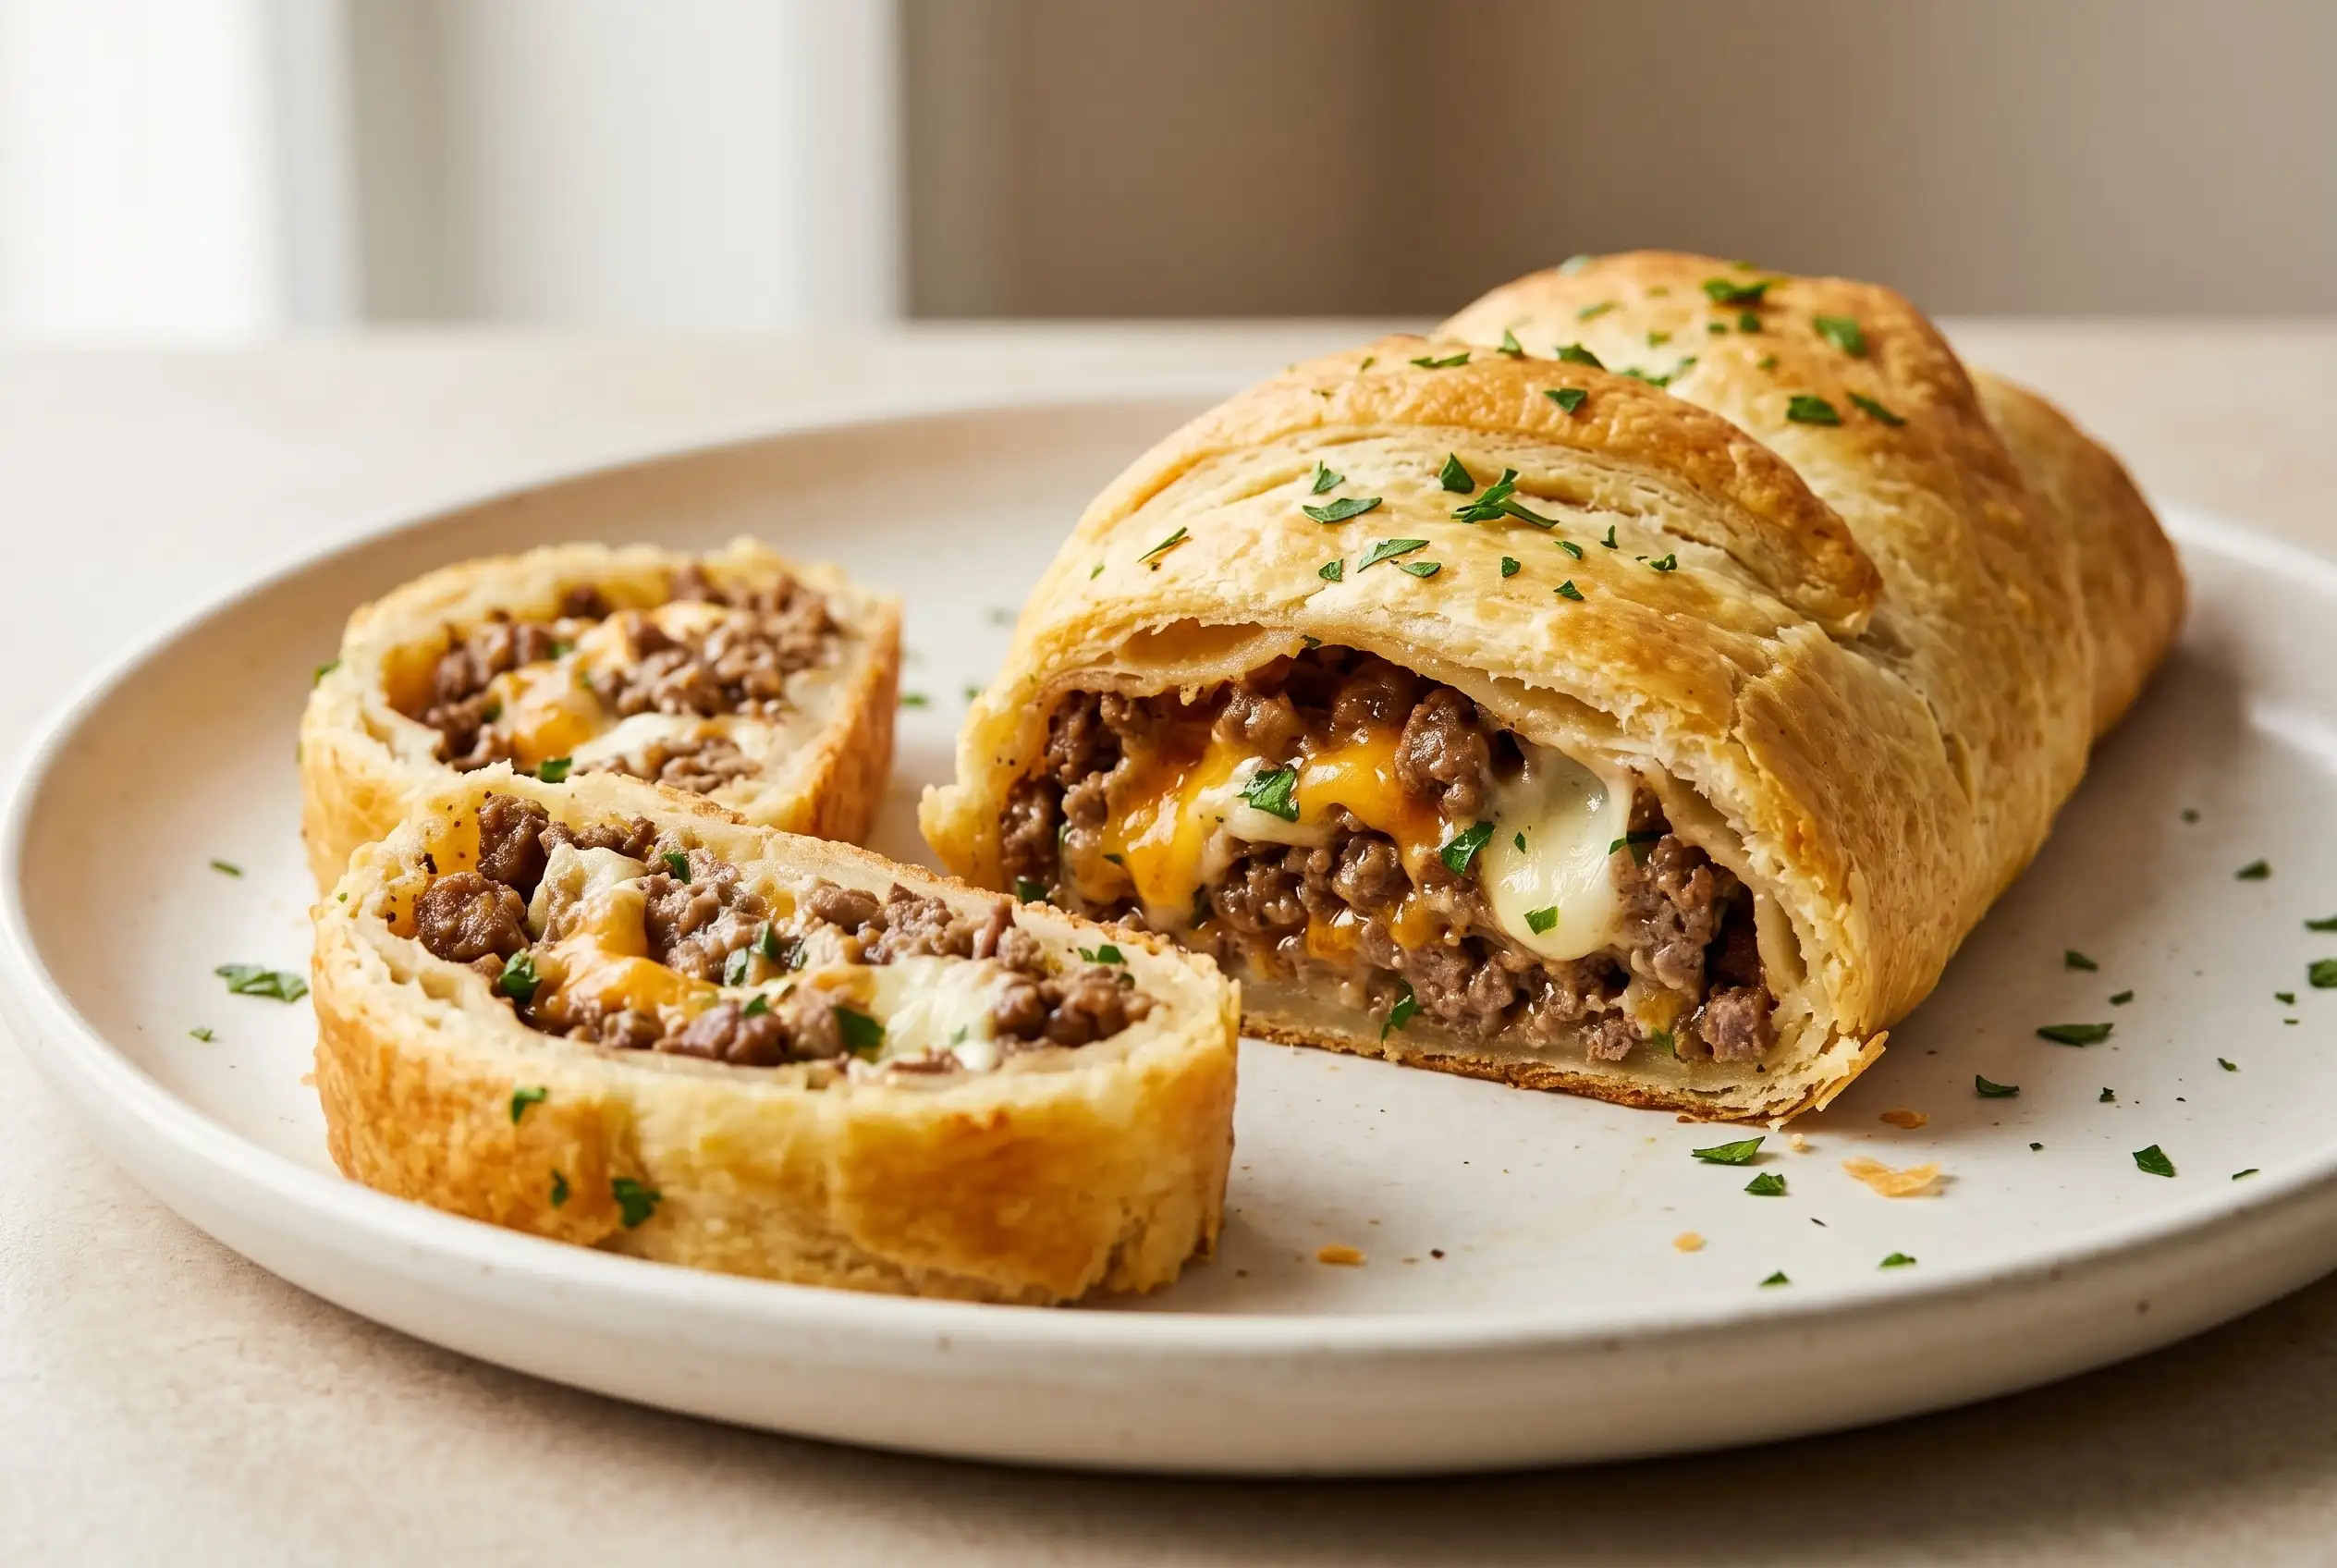
Cheesy Ground Beef Roll with Cheddar and Mozzarella and Parsley
Ingredients
Method
- Heat the oven to 375°F / 190°C and prepare a baking sheet with parchment paper.
- Brown the ground beef in a large skillet over medium heat, breaking it into small pieces as it cooks. Drain any excess grease.
- Season the beef with garlic powder, onion powder, paprika, Italian seasoning, salt, and black pepper. Cook for 2-3 minutes, then take the skillet off the heat and allow the beef to cool slightly.
- Place the cooked beef in a bowl and stir in the cheddar, mozzarella, and chopped parsley until evenly combined.
- Unroll the crescent dough into a single large sheet and press the seams together to create a sealed piece.
- Spread the beef and cheese filling across the dough, keeping a small border clear along the edges.
- Roll the dough firmly from one long side into a log. Seal the seam by pinching it closed, then tuck the ends inward.
- Set the roll seam-side down on the prepared baking sheet and brush the top and sides with the beaten egg.
- Bake for 20-25 minutes, until the roll is golden brown and fully cooked.
- Cool the roll for 5 minutes, then cut it into thick rounds and garnish with additional parsley if desired.